A Step-by-Step Guide to Creating the Golden Ratio Grid for Logos
Learn how to create a Golden Ratio Grid for logos inside Adobe Illustrator. Akrivi provides the tools, templates, and scripts you need to design precise, professional, and balanced logos with ease.
How to Create a Golden Ratio Grid for Logos in Adobe Illustrator
The Golden Ratio is one of the most powerful tools in logo design — helping you create balanced, memorable, and professional-looking logos that feel naturally aligned.
In this guide, you’ll learn how to build a Golden Ratio grid step-by-step using Adobe Illustrator, and why it remains one of the most trusted systems for iconic logo design.
How to Make Golden Ratio Grid
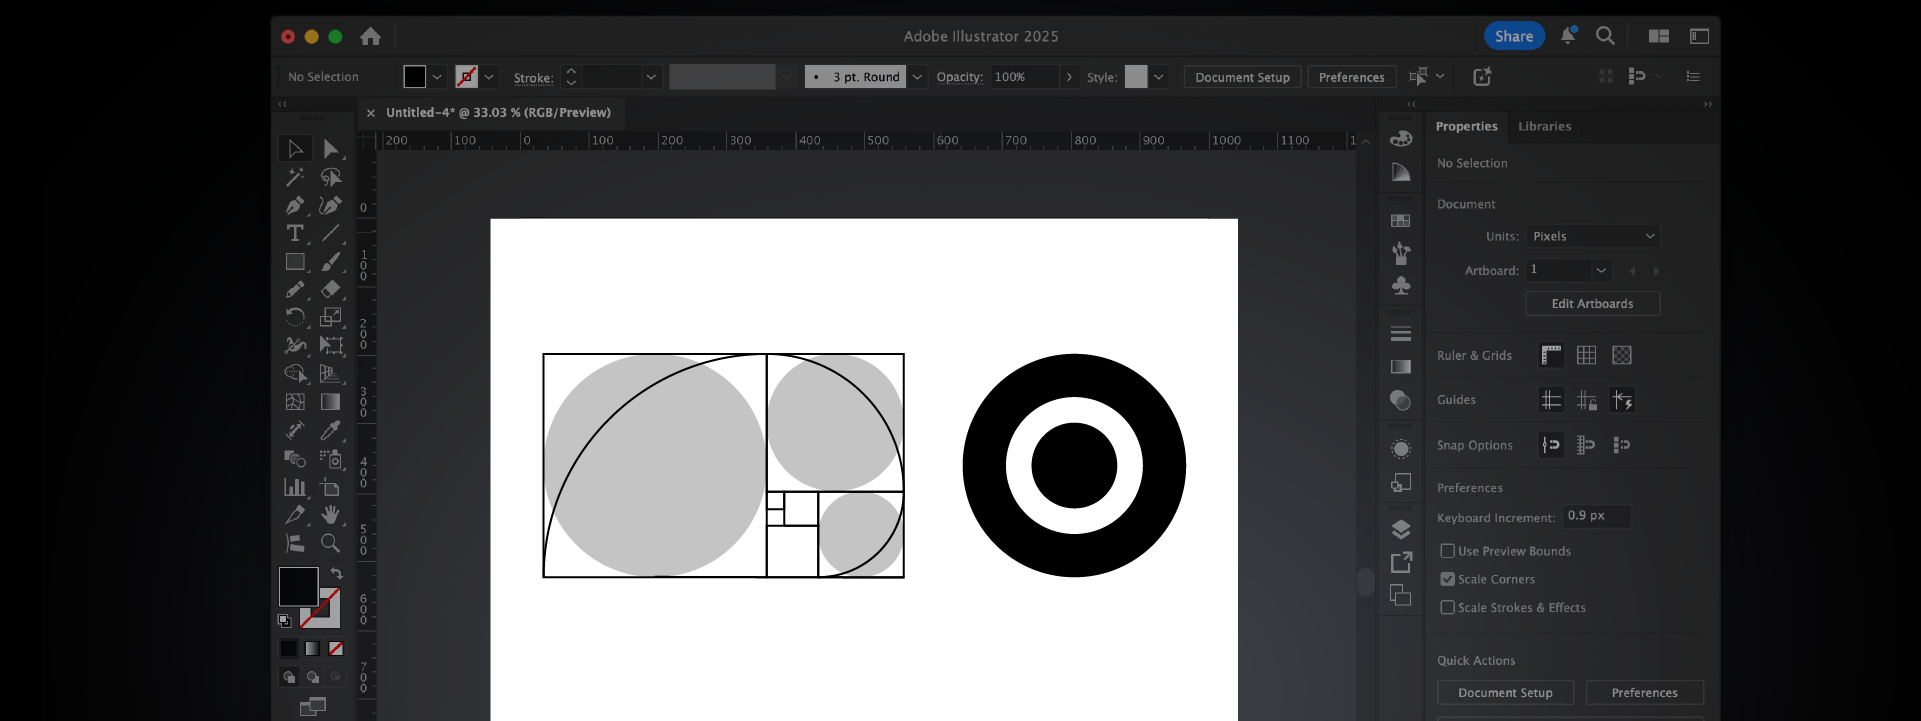
1. Start with Fibonacci Numbers: Use circle sizes like 10, 20, 30, 50, etc. to build the framework.
2. Create Overlapping Circles
Align them edge-to-edge to form the structure of the golden ratio.
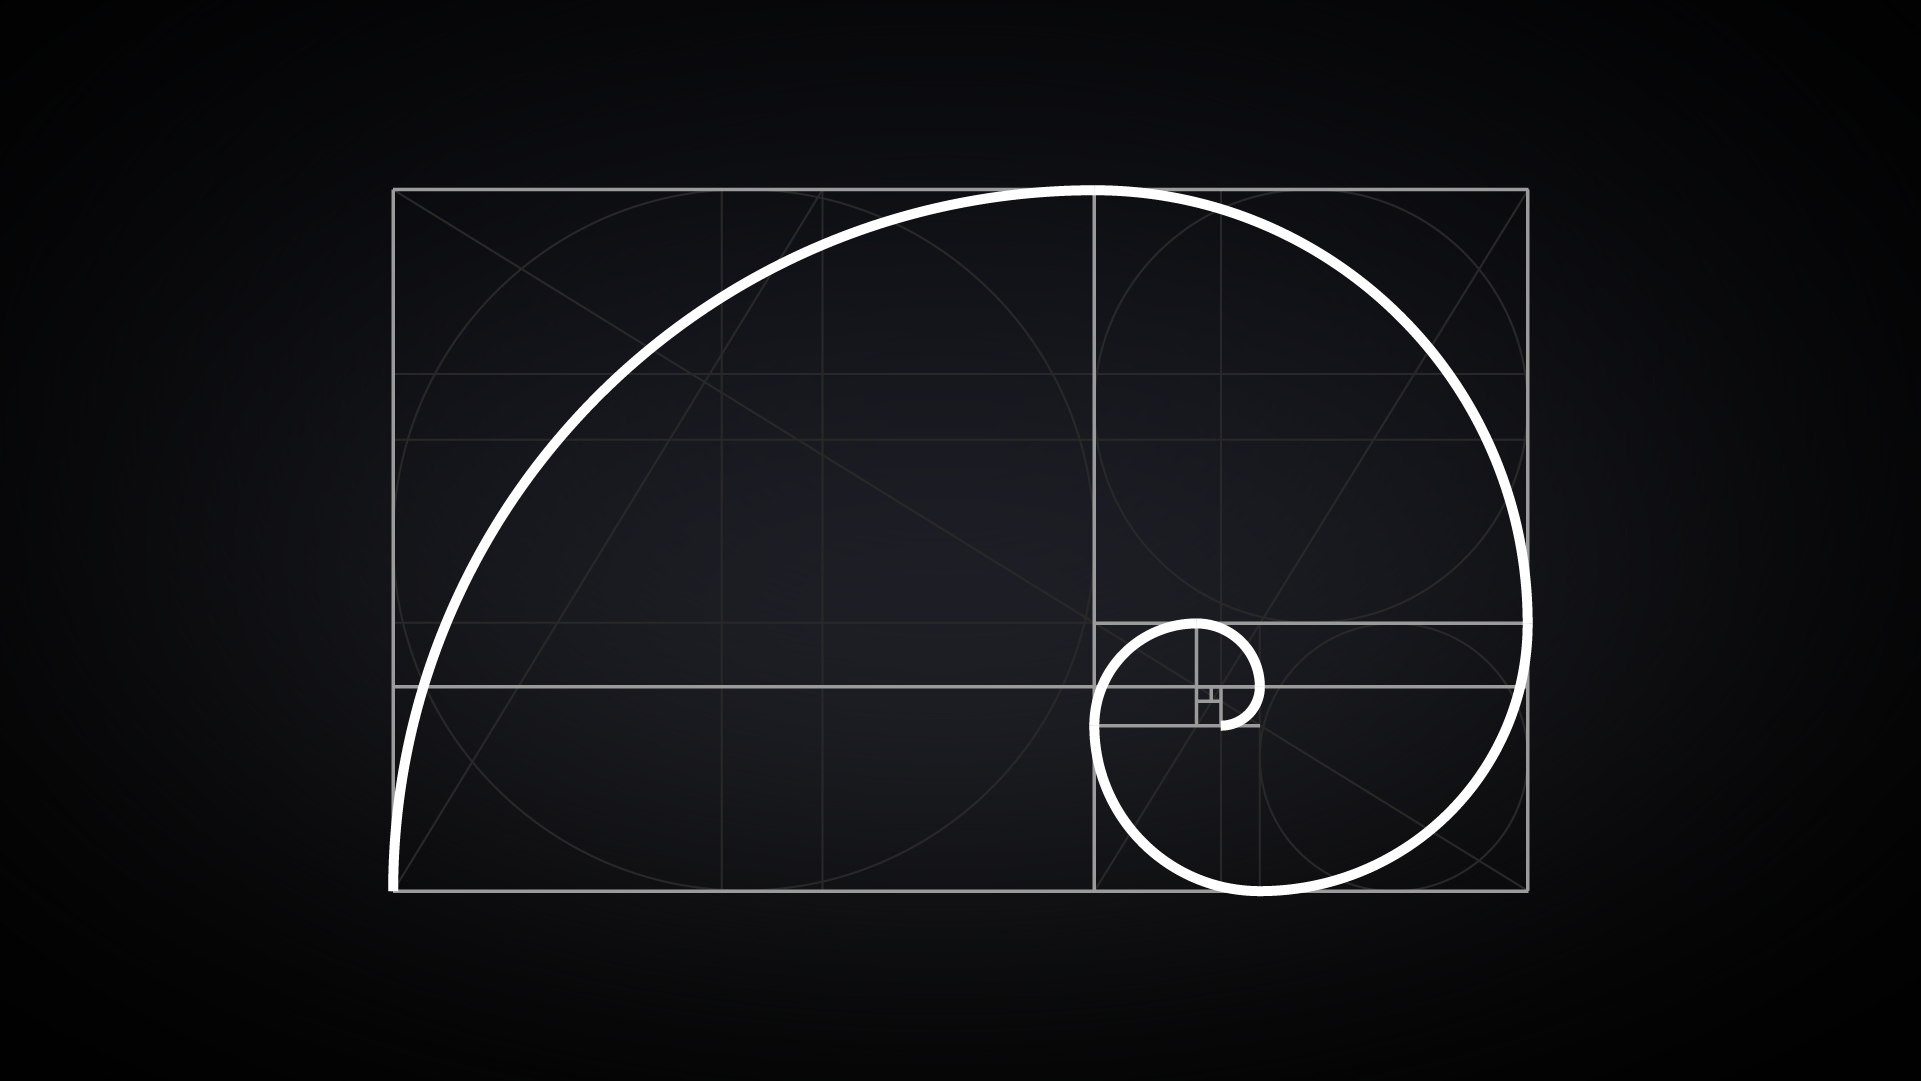
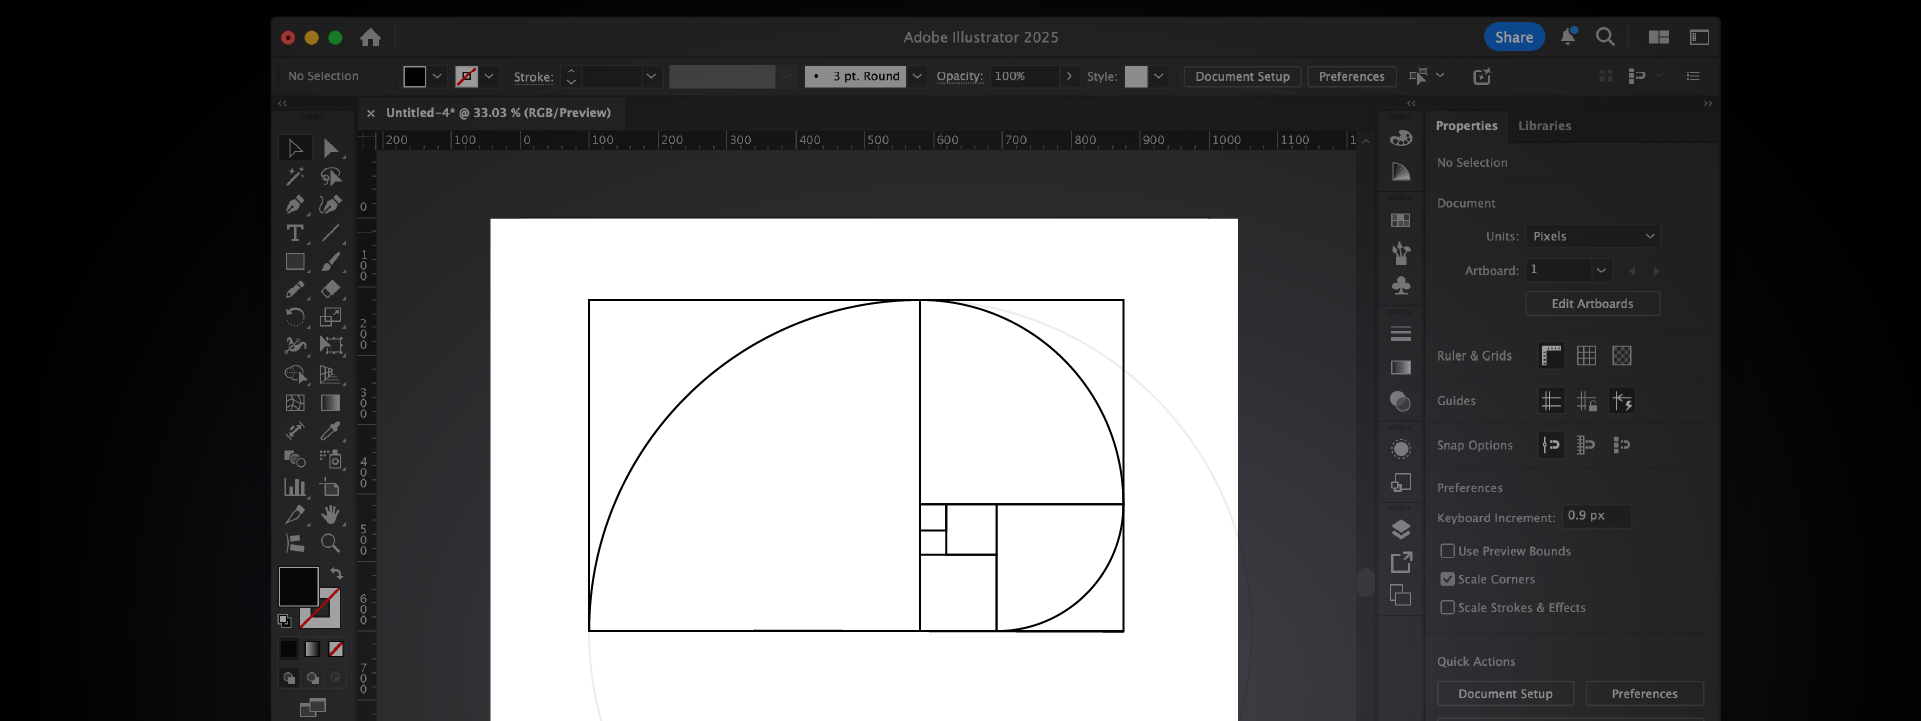
3. (Optional) Add a Spiral
Use arcs or quarter circles to visualize flow and composition.
4.Build a Grid Framework
Use the circles to draw guides that help structure your logo.
5. Sketch with the Grid
Design shapes that follow the grid’s natural proportions.
6. Refine and Finalize
Polish your paths, check alignment, and apply optical adjustments.
What is the golden ratio in logo design?
The golden ratio (approximately 1.618) is a mathematical constant that appears all around us—especially in things like artwork and architecture. In logo designing, this is needed to generate aesthetically-pleasing, spontaneously balanced imagery.
Companies such as Apple, Twitter, and Pepsi are among those whose logos’ structures have been alleged to conform to the golden ratio, giving their logos a natural feeling of orderliness.
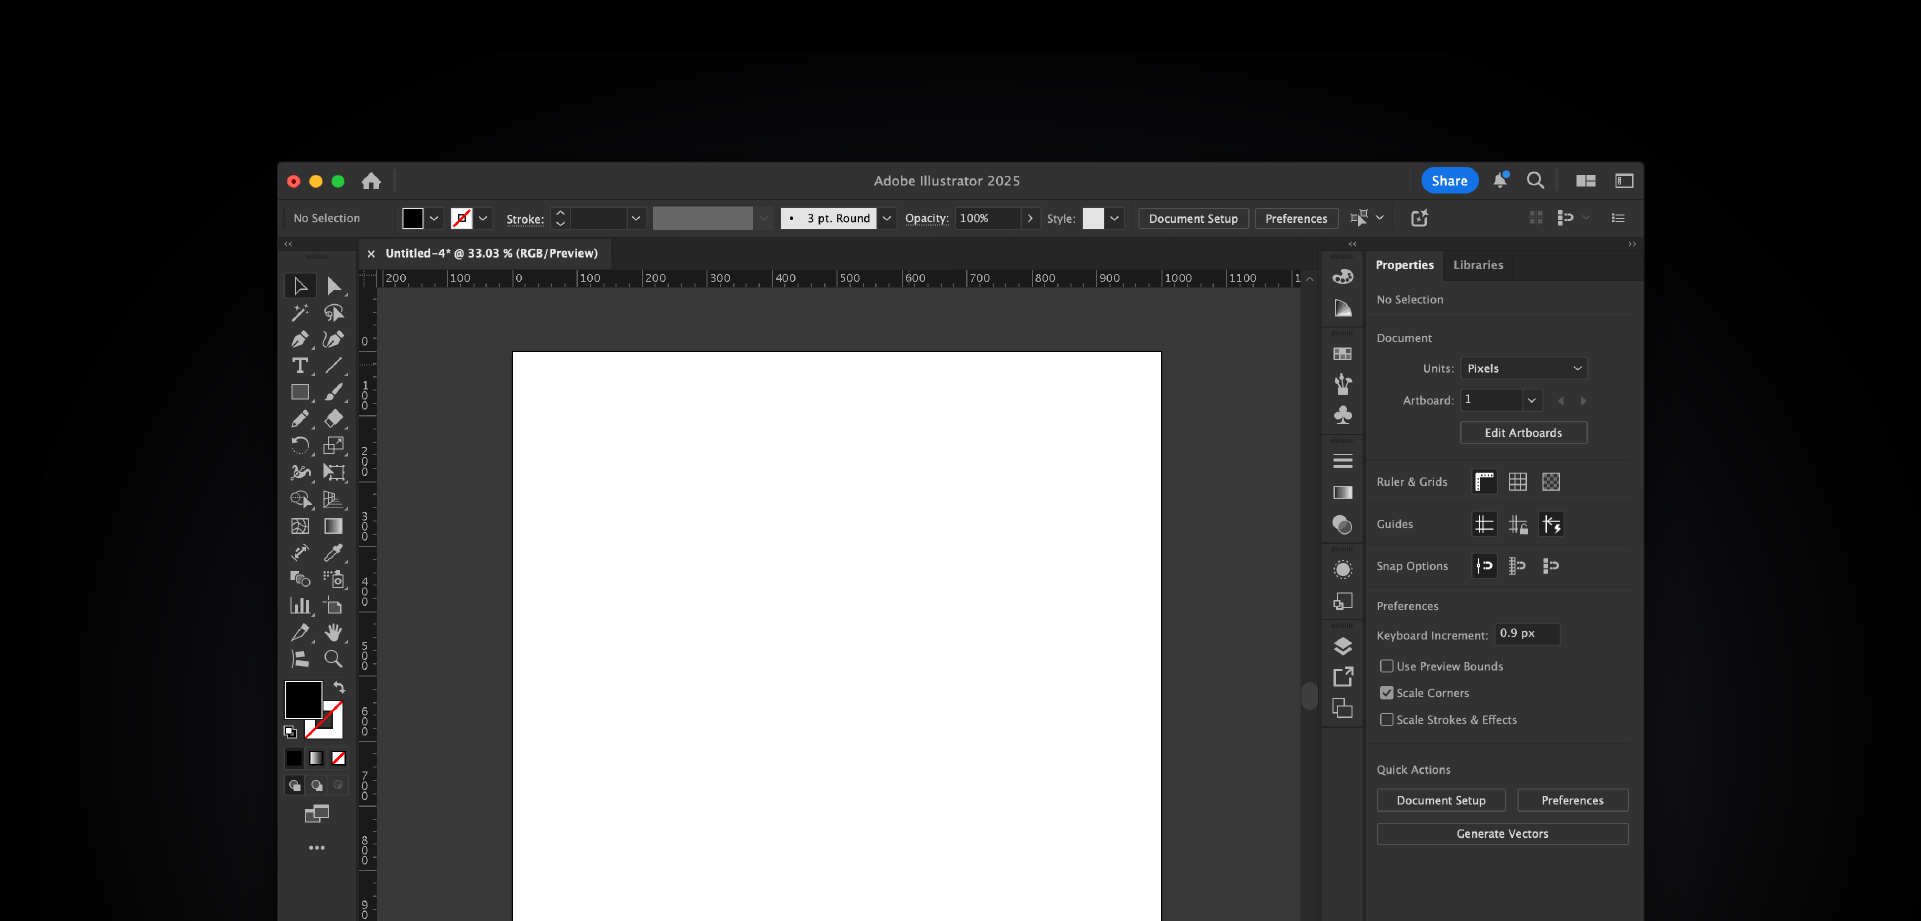
Create a New Document: Choose a size like 1000px by 1000px for flexibility.
Enable Rulers: (View > Rulers > Show Rulers)
Enable Smart Guides: (View > Smart Guides) for easier snapping.
Turn on Grids: (View > Show Grid) and (View > Snap to Grid).
Set Units to Pixels or Points: (Preferences > Units)
This environment will make your grid creation much smoother.
Step-by-Step: Creating the Golden Ratio Grid for Logos
I’ve created a quick video showing how to build the golden ratio grid in Adobe Illustrator. You can also follow the step-by-step guide below.
Step 1: Understanding the Fibonacci Sequence
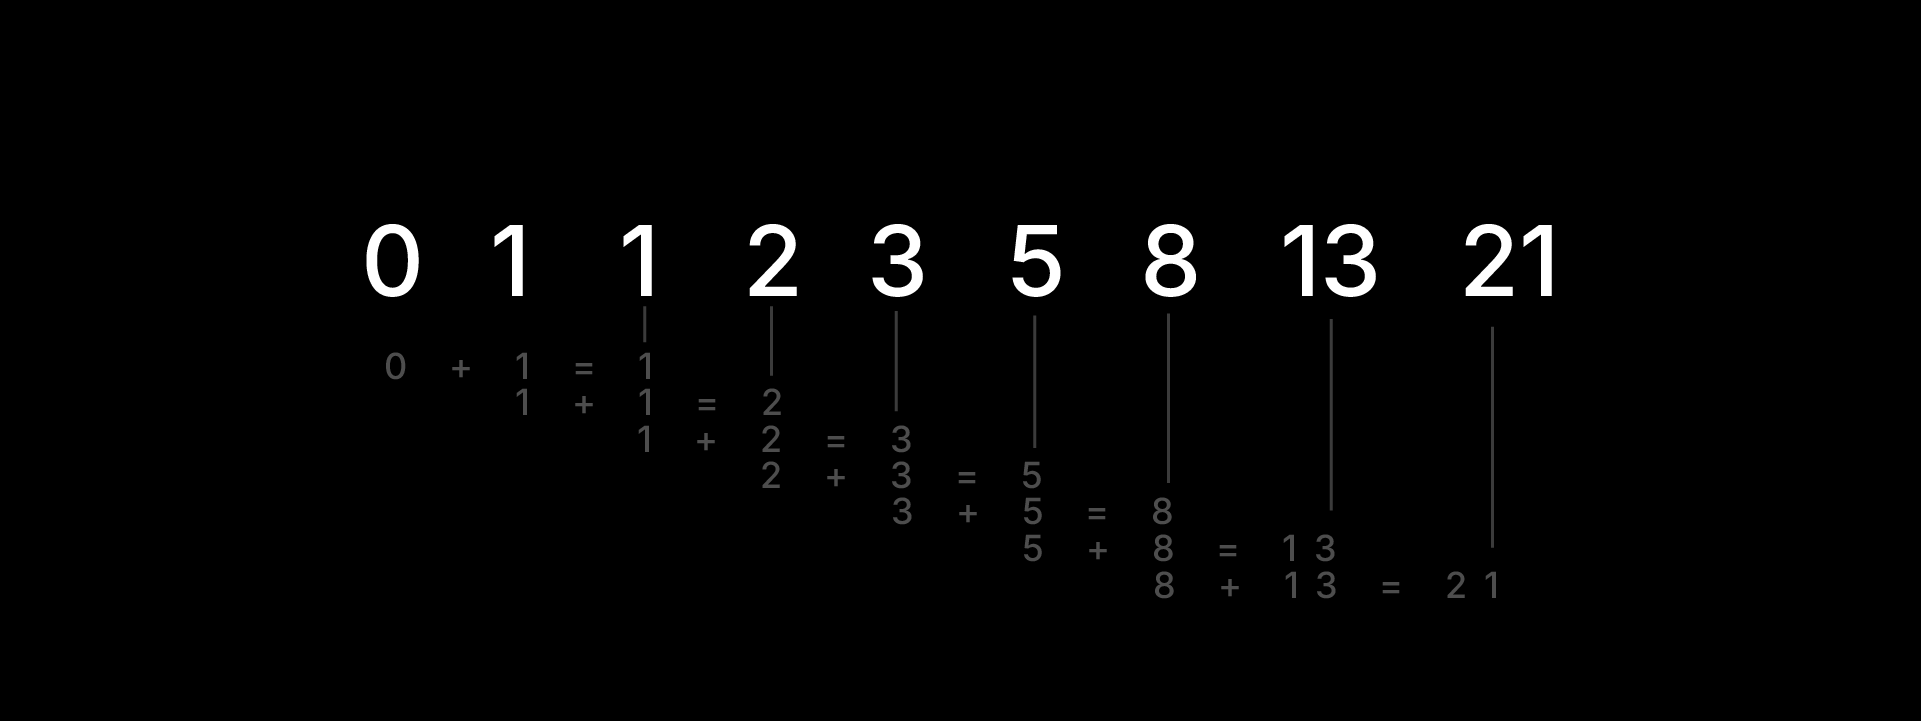
The golden ratio is strongly related to the Fibonacci sequence. It looks like this: 0, 1, 1, 2, 3, 5, 8, 13, 21, etc.
Each number is the sum of the two numbers before it. Once you start creating circles using diameters derived from these numbers, you are starting to build up the basic golden ratio grid.
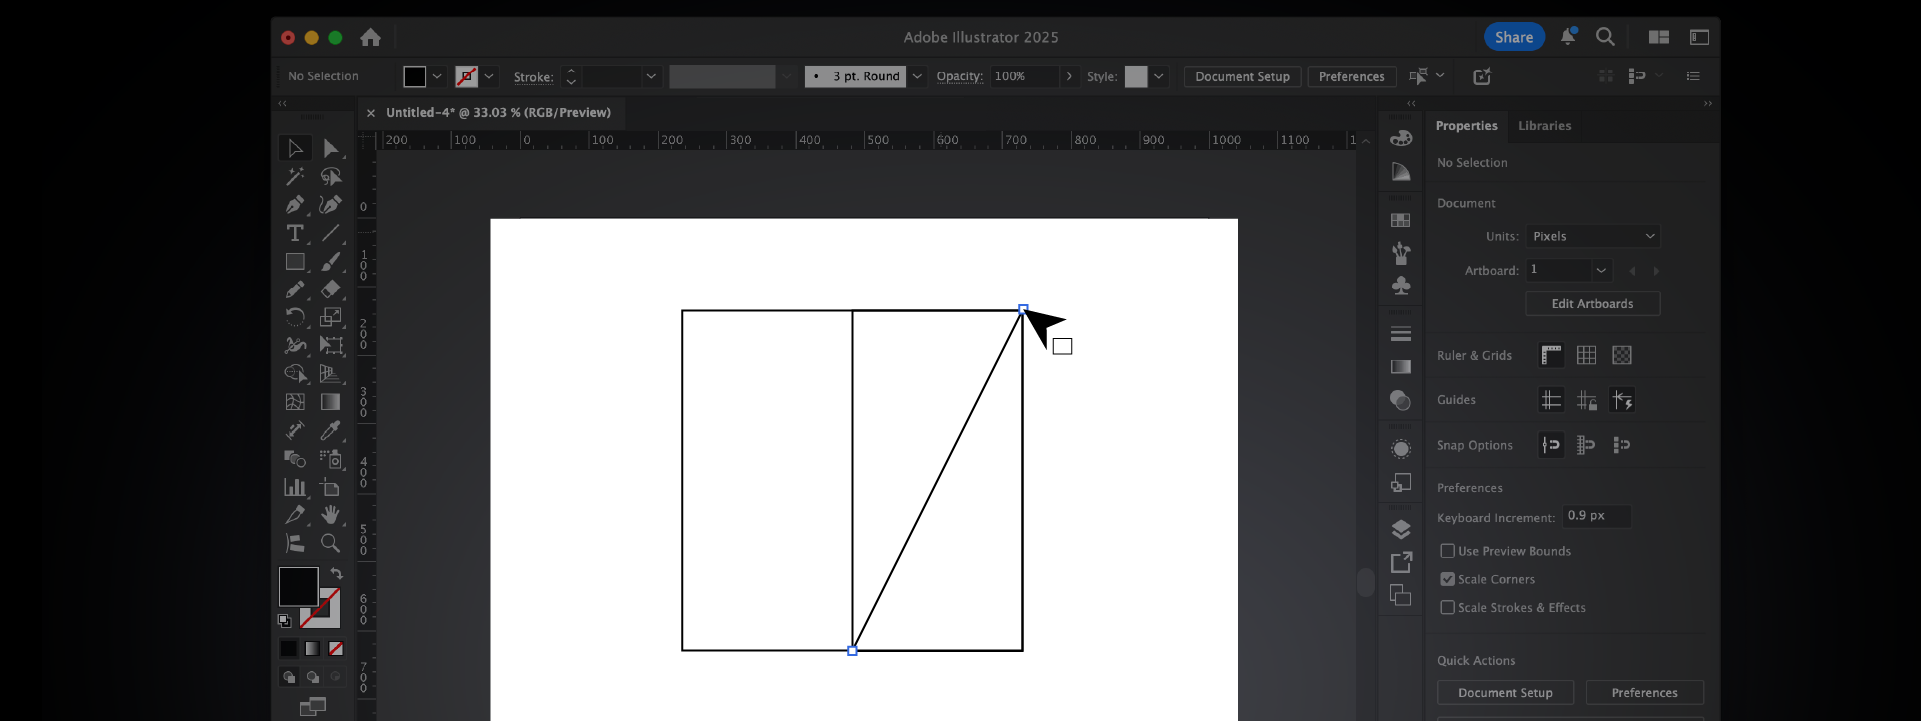
Rotate & Position: Align new arc to next largest square.
Repeat: Continue duplicating, rotating, and positioning for each smaller square.
Step 4: Design Your Logo
Align Elements: Position key logo components (shapes, text) directly along grid lines, intersections, or within grid squares.
Establish Proportions: Use the varying square sizes and arc curves to define harmonious dimensions and spacing for your logo.
Refine & Balance: Leverage the spiral's flow for dynamic compositions and ensure overall visual balance following the grid's structure.
Remember: The goal is balance, not mechanical perfection.
How Akrivi Gridit Makes Golden Ratio Grids Effortless
At Akrivi, I've developed Akrivi Gridit — a suite of tools (free scripts, paid extensions, and templates) that automate grid creation and logo structuring in Adobe Illustrator
Base Grid Generator™ : Instantly generate any type of grid straight on to your art board, including Golden Ratio.
Check out this video here of how the tool works.
These resources save hours of manual setup and ensure every logo you create is structured with mathematical precision — enhancing your design efficiency.
Why Mastering Logo Grids Matters
According to a study on logo design principles published in the Journal of Business Research, logos that exhibit symmetry, proportion, and simplicity are more likely to generate positive customer responses.