How to Export Logo Files Fast in Adobe Illustrator
Learn the fastest way to export a complete logo package for client delivery using Akrivi Exportit inside Adobe Illustrator.
The fastest way to export a complete logo package for client delivery
Exporting a logo package manually in Adobe Illustrator means repeating the same steps across every format, every colour variant, and every variation. For a standard delivery with four lockups and four colour variants, that is a significant block of time before the client has a single file.
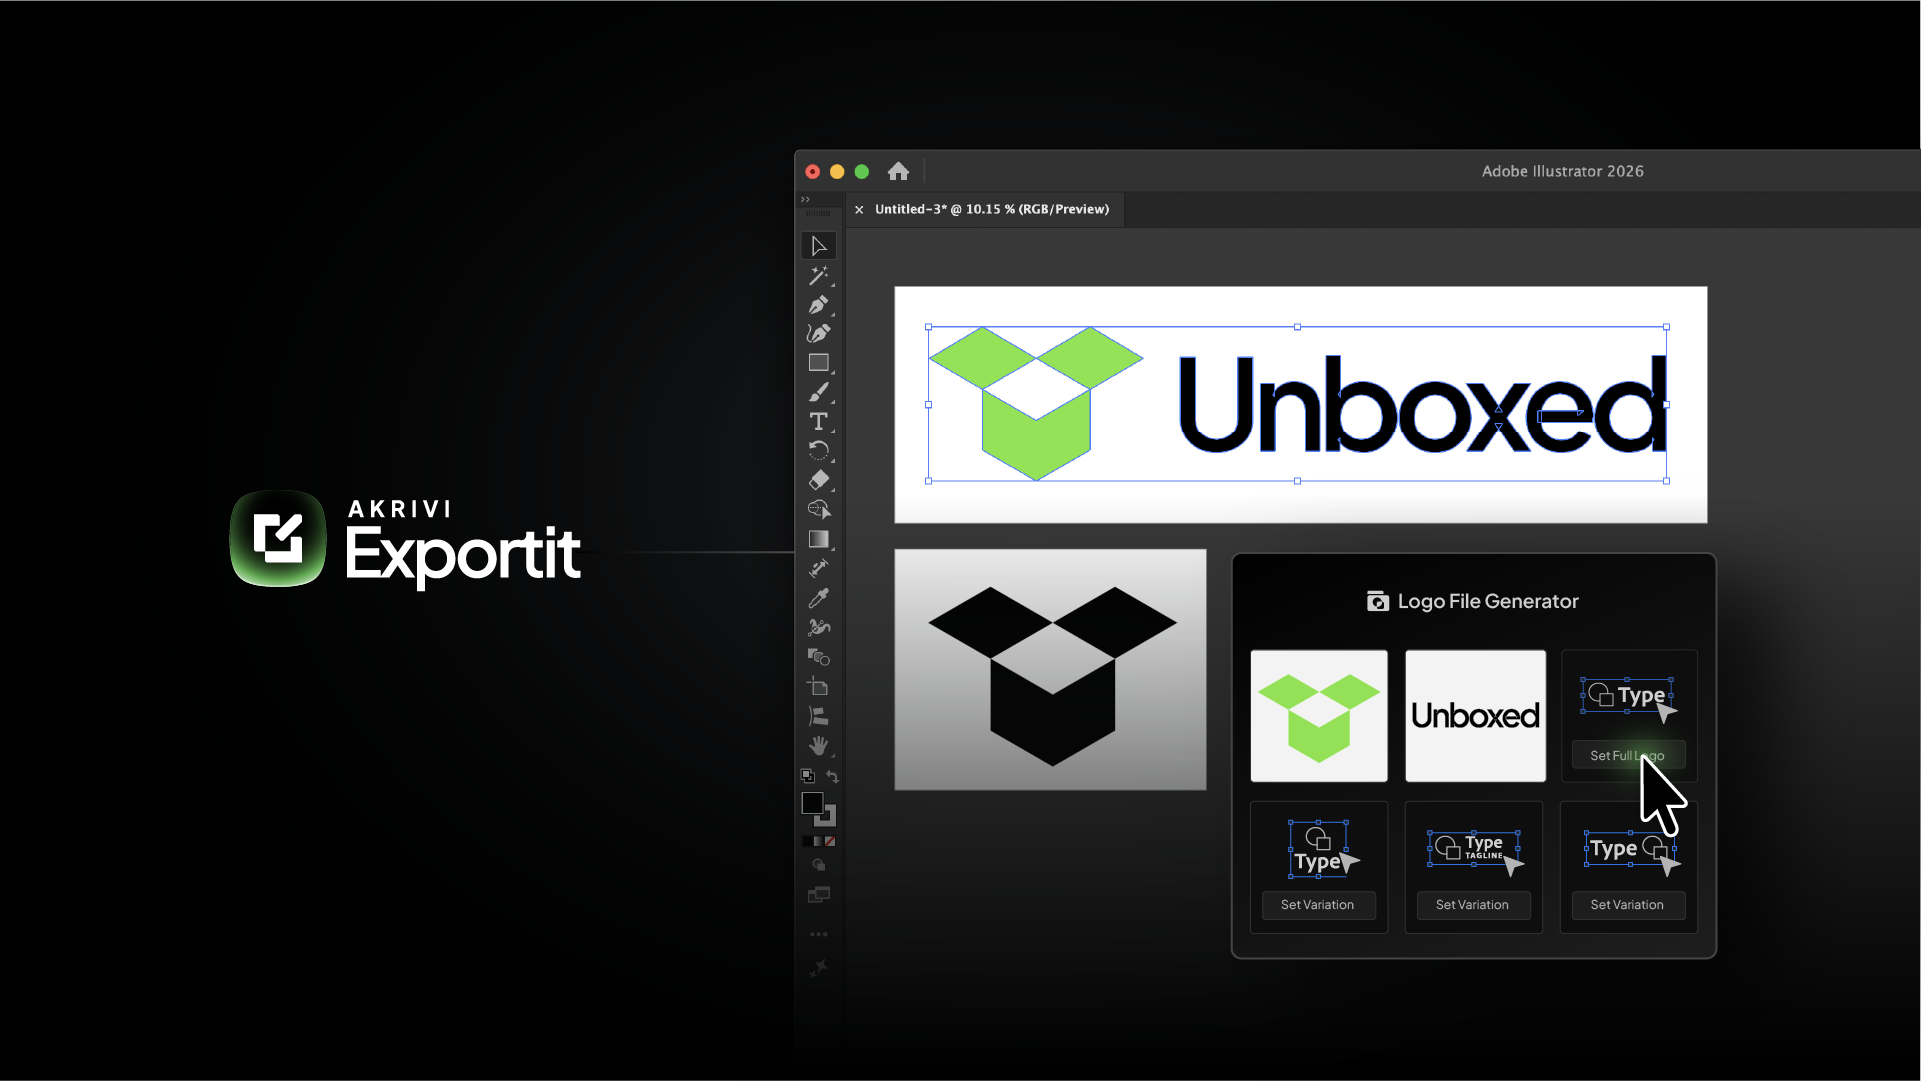
Exportit is Akrivi's Logo File Generator built inside Adobe Illustrator. It handles the entire export in one run, formats, colour variants, folder structure, and naming, so you go from finished logo to complete client package in minutes.
How to export logo files with Exportit
Open Akrivi Studio in Adobe Illustrator and select the Exportit tab.
Related Reading: For a full breakdown of every file a complete logo package should contain, visit the logo files hub.
Step 1: Select your logo lockups
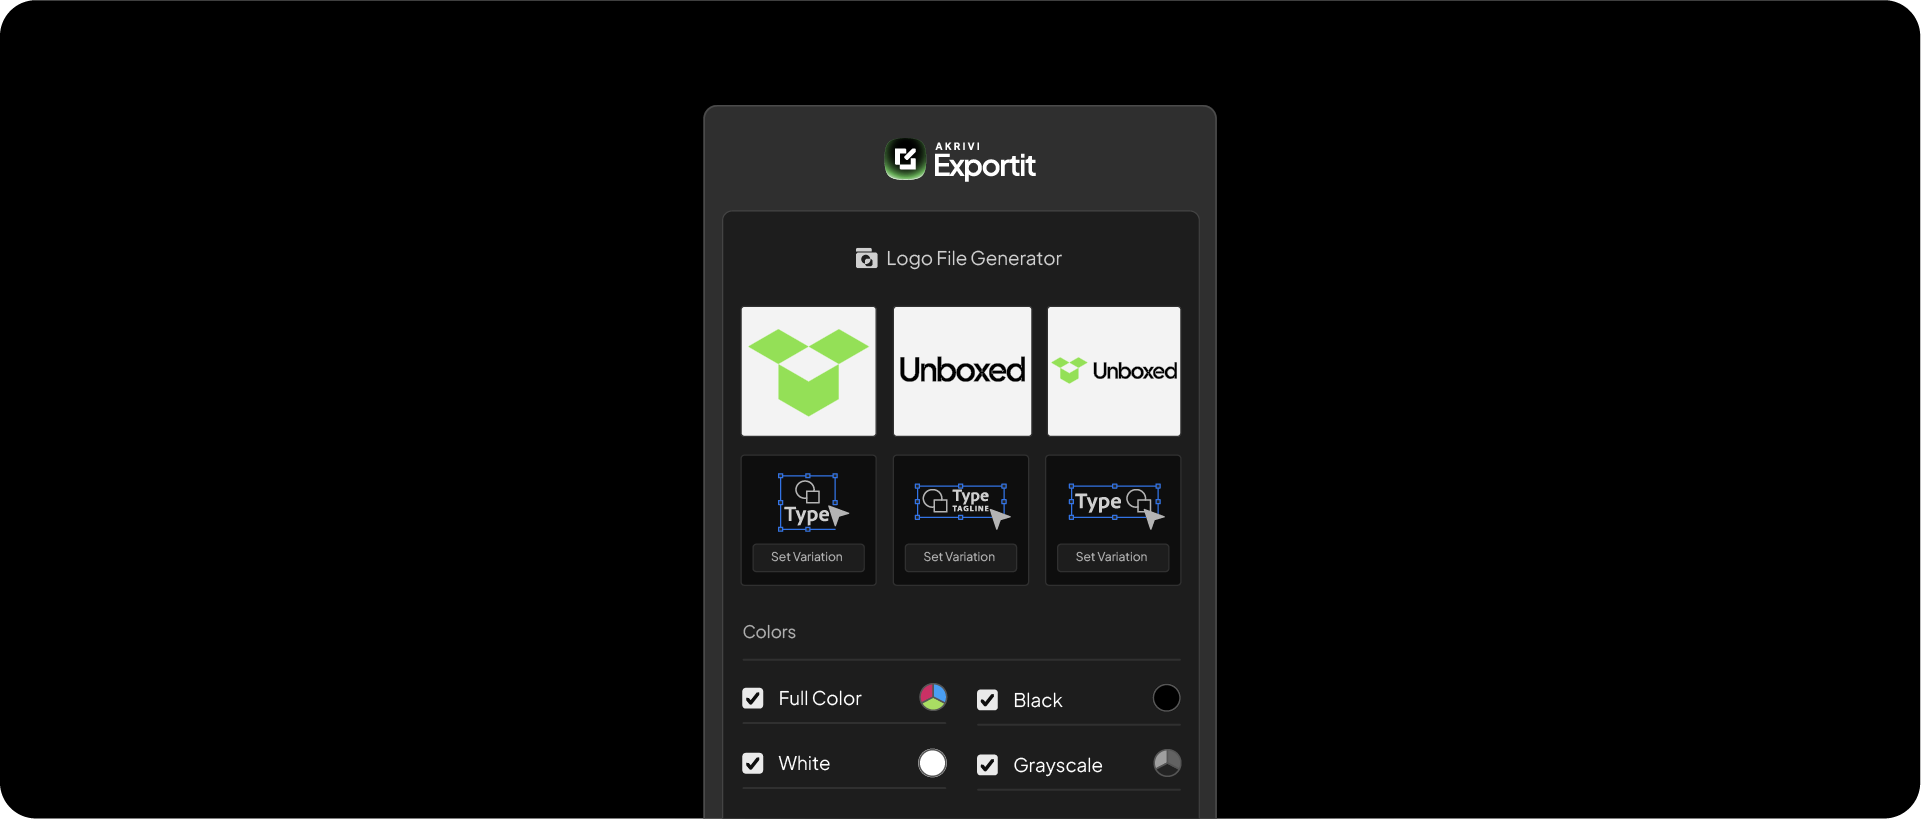
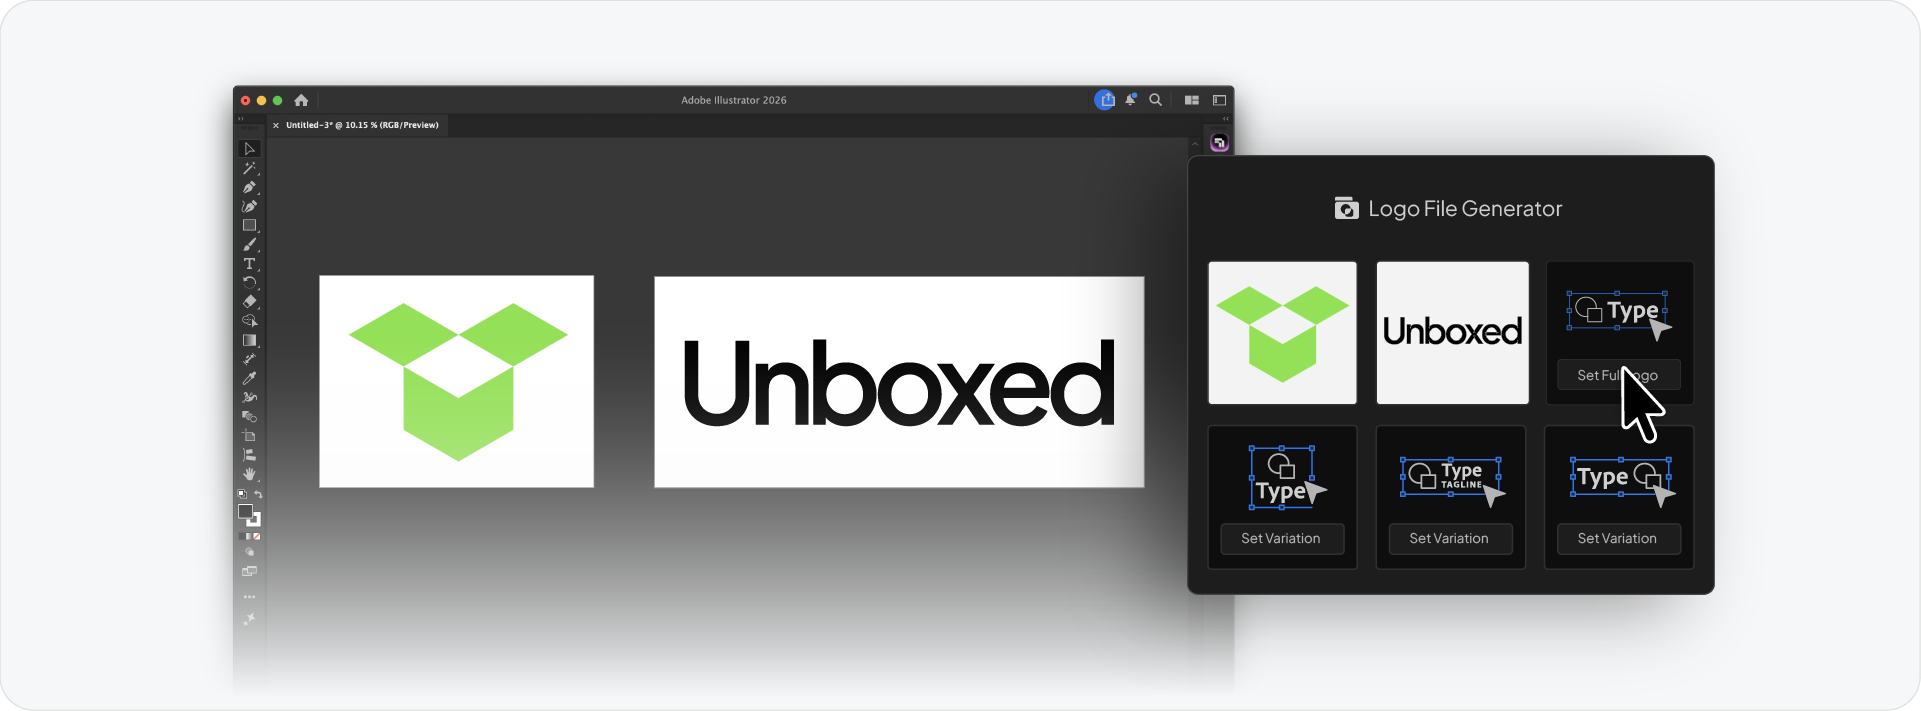
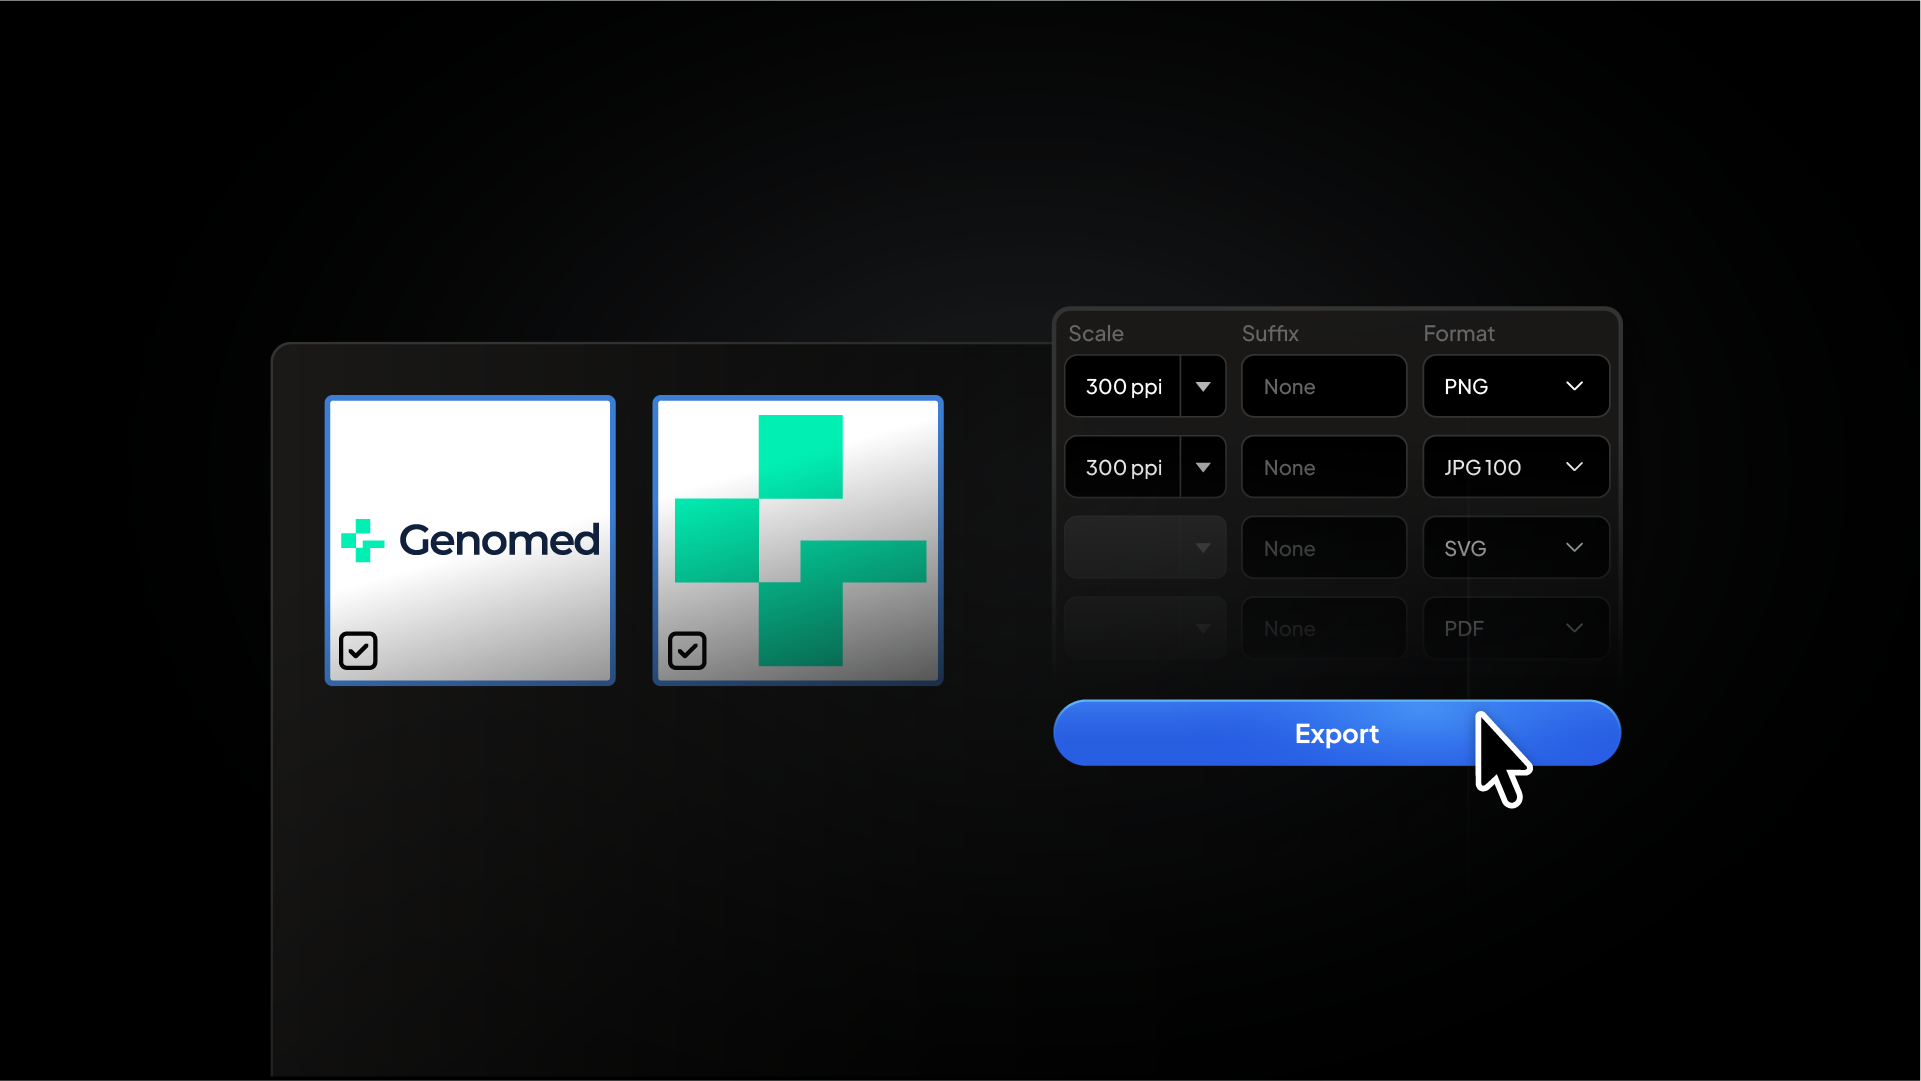
The interface shows a grid of six slots, one for each logo variation in your file. Click each slot to assign the corresponding artboard or group: Primary Lockup, Secondary Lockup, Logomark, Logotype, and any additional variations.
Each slot shows a live preview of the selected artwork so you can confirm the correct element is assigned before exporting.
Step 2: Choose your colour variants
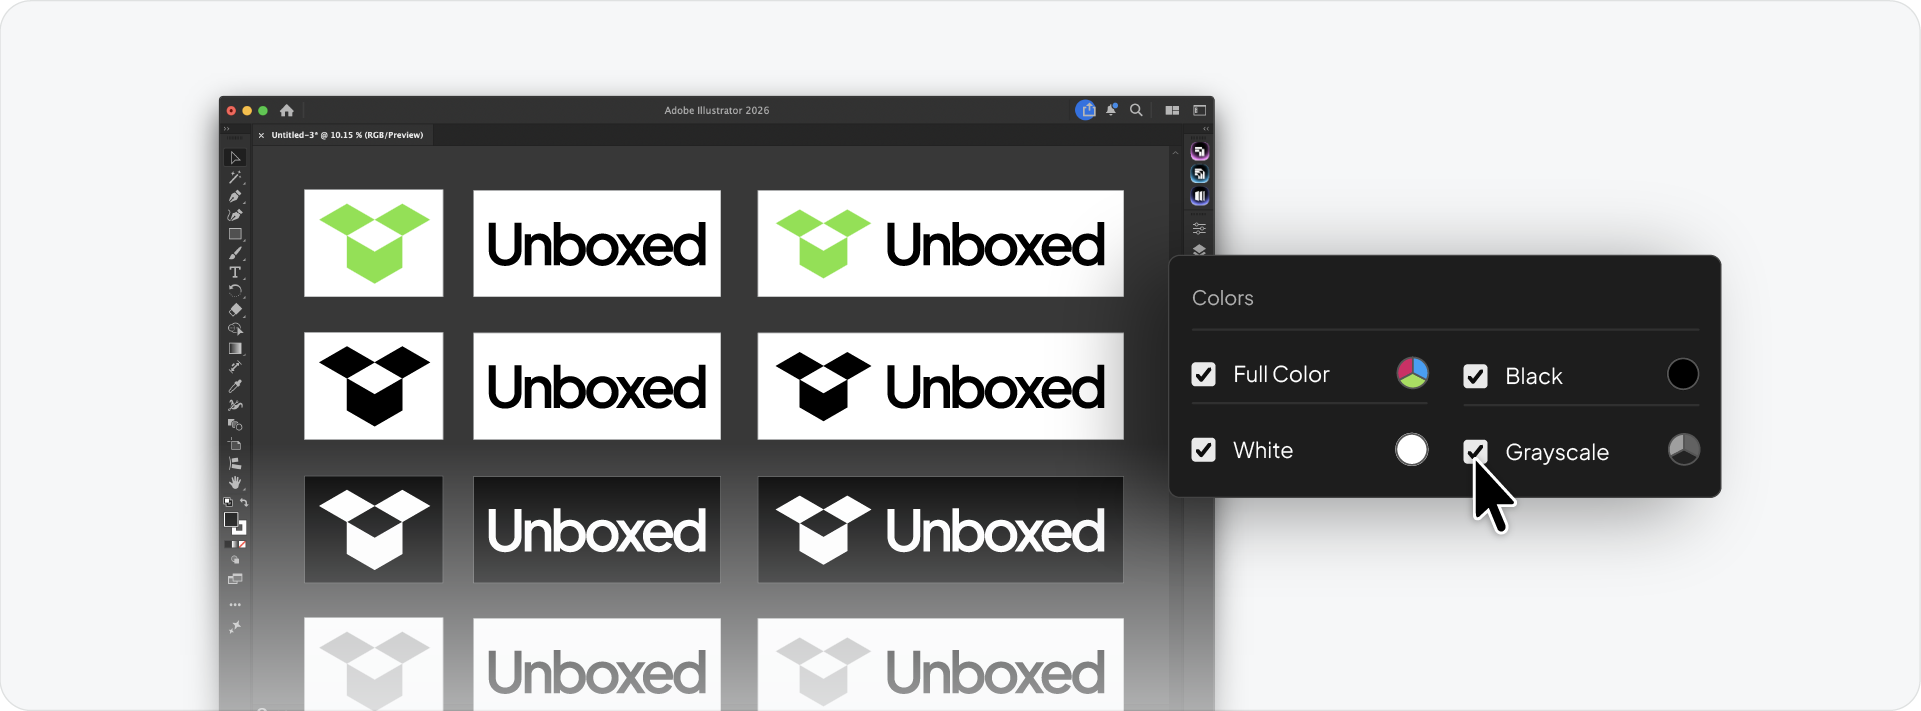
Under Colors, check the variants to include in the export:
Full Color: the primary branded version
Black: single colour for one-colour print and embroidery
White: for use on dark or brand-coloured backgrounds
Greyscale: for contexts where colour is not supported
Check all that apply. Every selected variation will be exported in every checked colour variant.
Step 3: Select your export formats
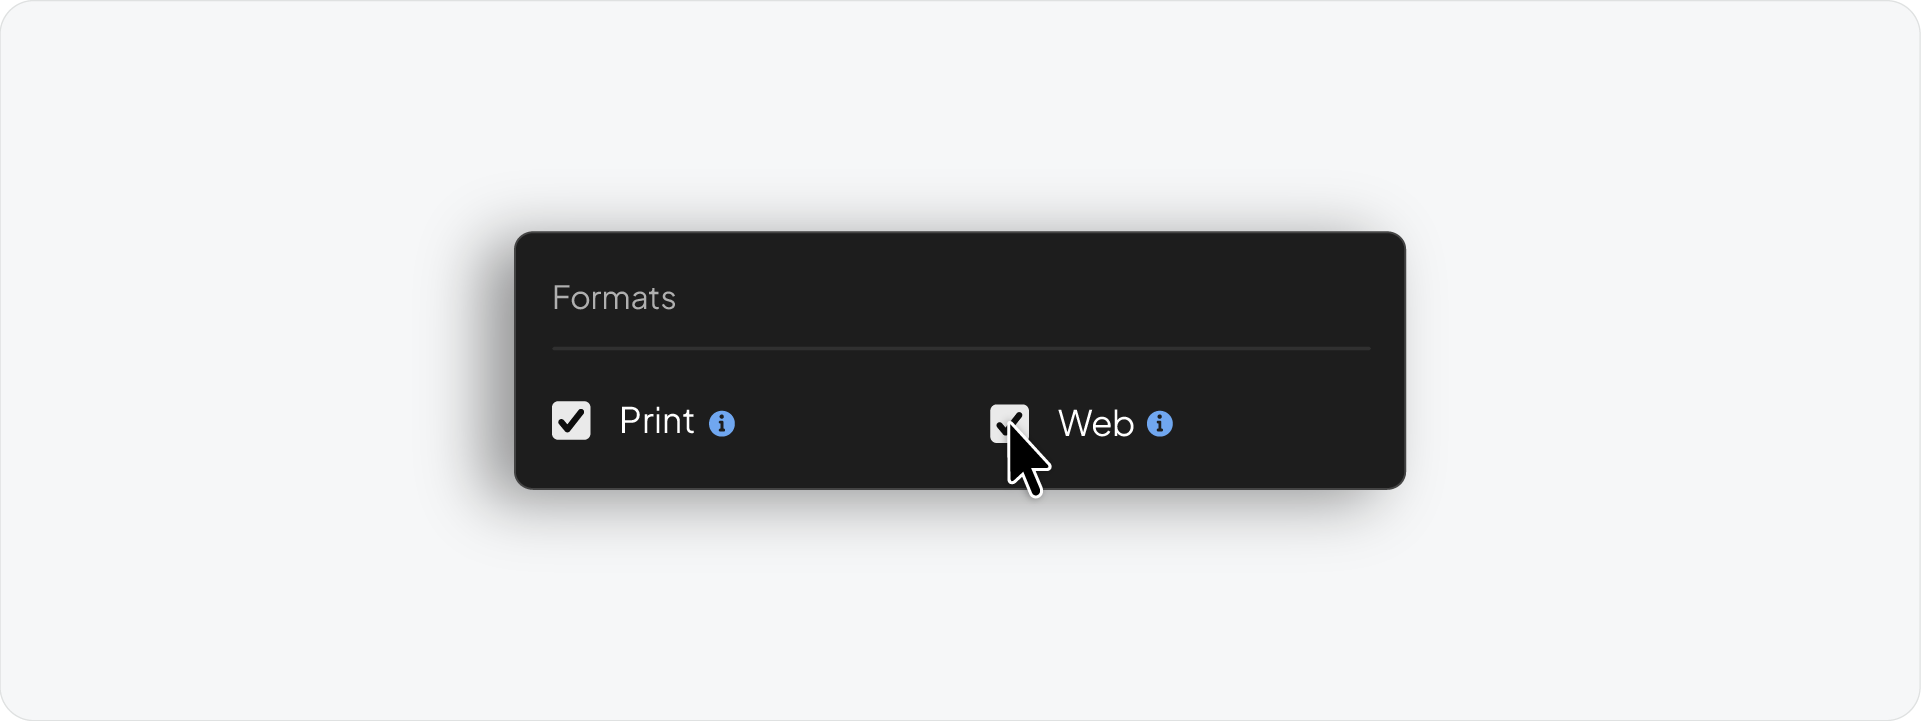
Exportit splits exports into two colour spaces:
Print generates AI, EPS, and PDF file formats in CMYK, compatible for professional print production.
Web generates AI, SVG, PNG, and JPG file formats in RGB, compatible for web and digital platforms.
Check Print, Web, or both depending on what the package requires. For a full client delivery, check both.
Step 4: Name the client folder
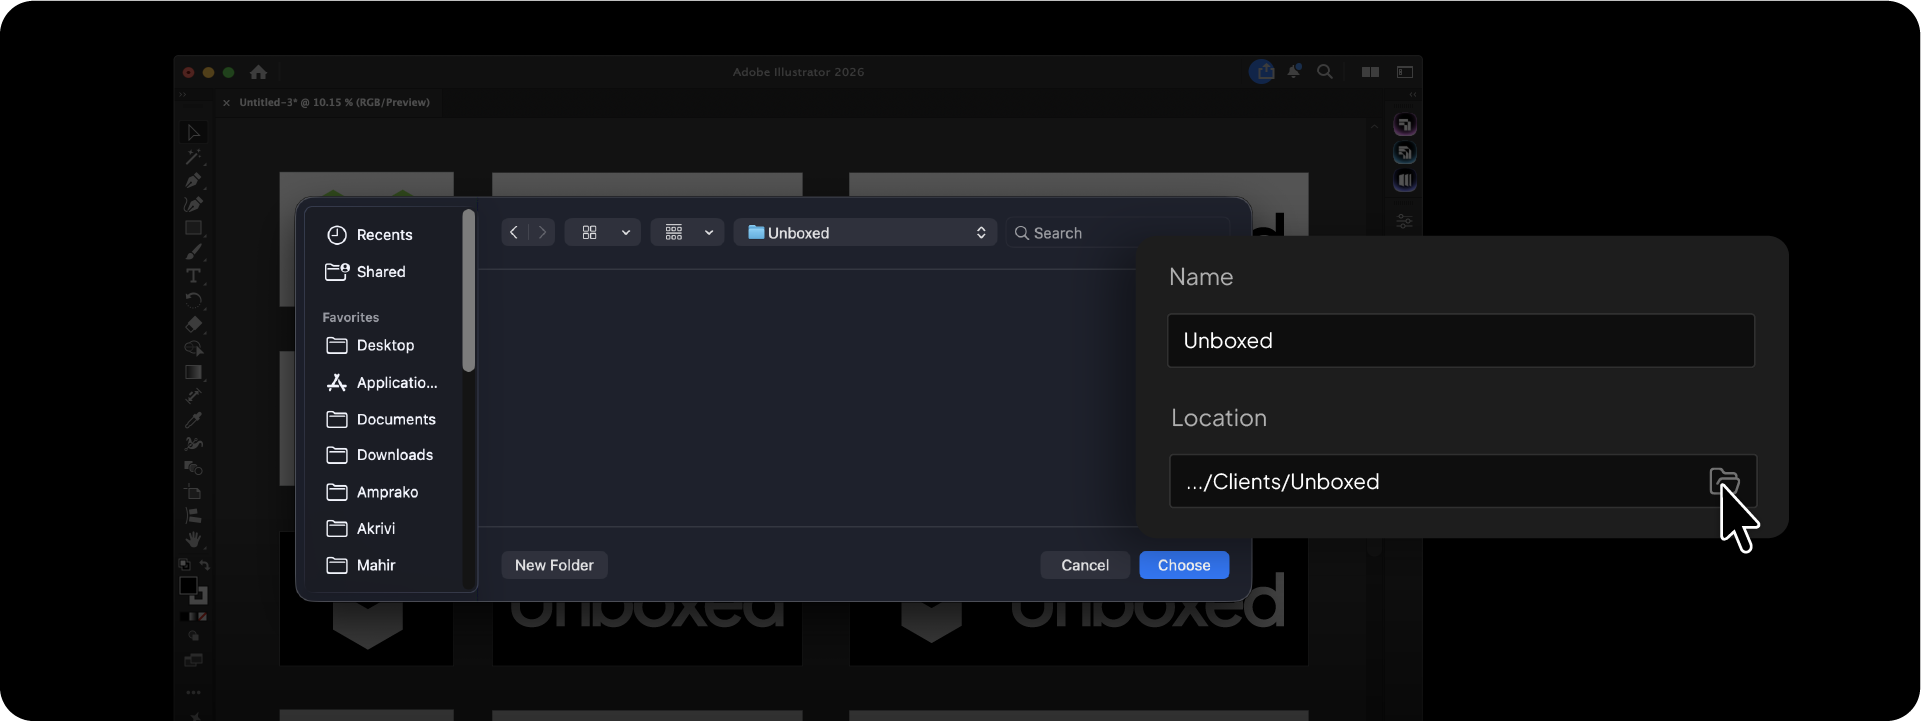
In the Name field, enter the client or project name. This becomes the root folder name for the entire package, keeping the delivery clearly labelled from the start.
Step 5: Set the export location
Click the folder icon in the Location field and choose where to save the package on your machine. Exportit will build the full folder structure inside this location automatically.
Step 6: Export
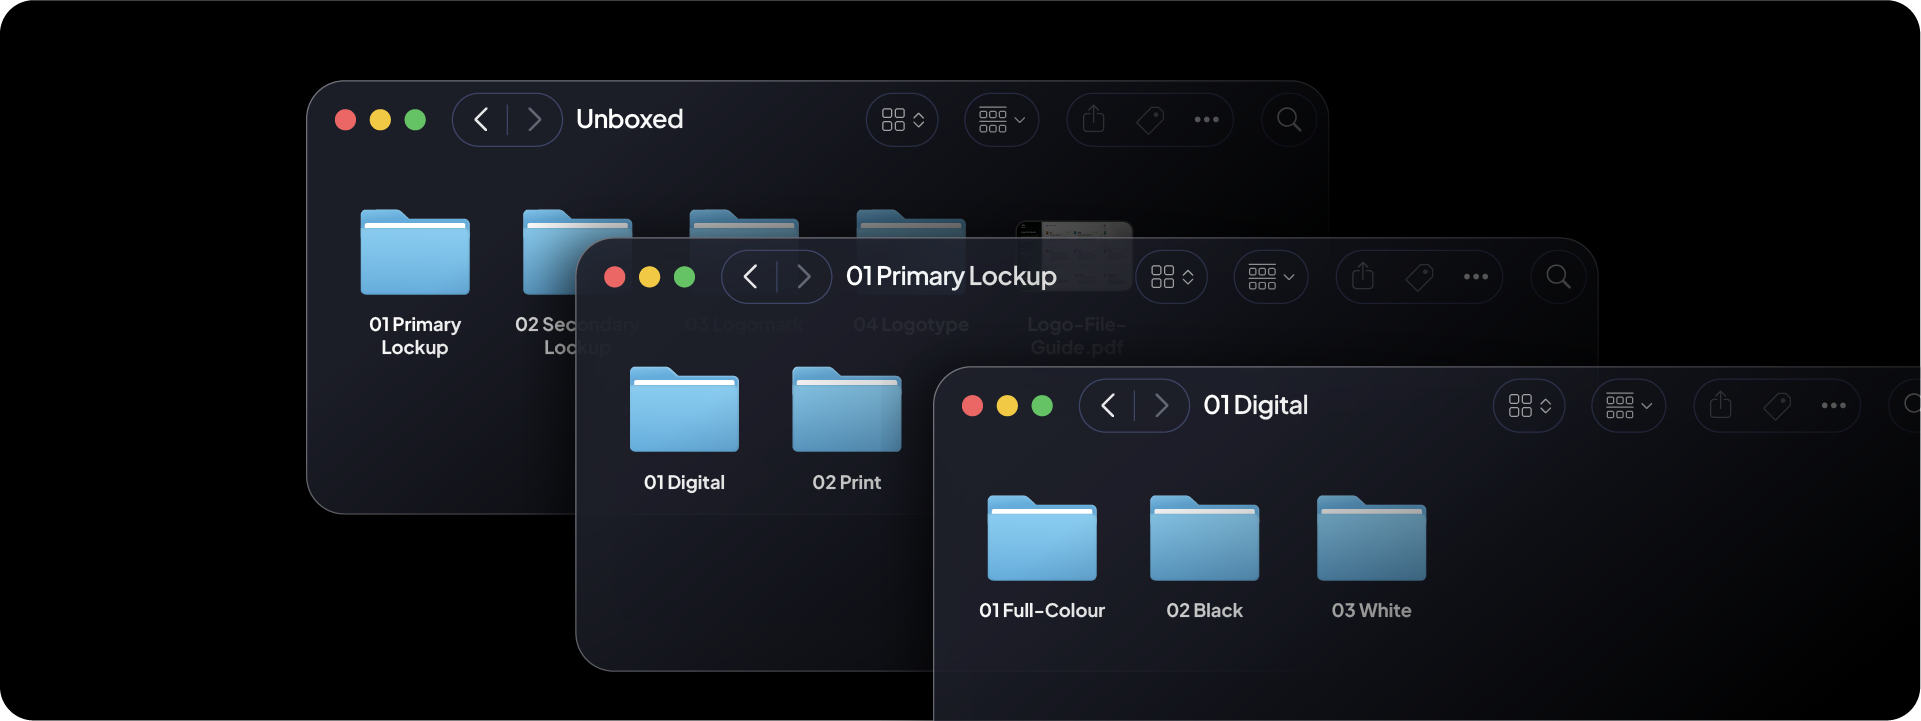
Click Export. Exportit generates every file across every selected variation, colour variant, and format, organised into a clean folder structure with consistent naming — ready to zip and send to the client.
What Exportit generates
A full export with all four colour variants across both Print and Web produces:
Vector files: AI, PDF, EPS (Print) and AI, SVG (Web) per colour variant per variation
Raster files: PNG and JPG per colour variant per variation
All files named consistently and organised into the correct folder structure
Related Reading: For a breakdown of what each file format is used for, read the logo file formats guide. For the correct sizes to export raster files at, read the logo sizes guide.
Part of the complete Akrivi Studio suite
Exportit is one of four tools inside Akrivi Studio, each covering a different stage of the brand identity workflow:
Gridit: generate logo grids and construction systems
Exportit:export the complete logo package for client delivery
One subscription covers all four tools, so the entire workflow from logo construction to client delivery runs inside Illustrator without switching platforms.
Exportit replaces every manual export step with a single run. Select the lockups, check the colour variants, choose the formats, name the folder, and export. The complete client package is ready in minutes.