Learn how to use the different types of logo grid systems, base, construction, lockup, and clearspace, throughout your design process.
Learn how to use different types of logo grid systems throughout your design process.
Many designers think a logo grid is just one thing, a complex web of lines you slap on top of a logo at the end to make it look cool on Instagram.
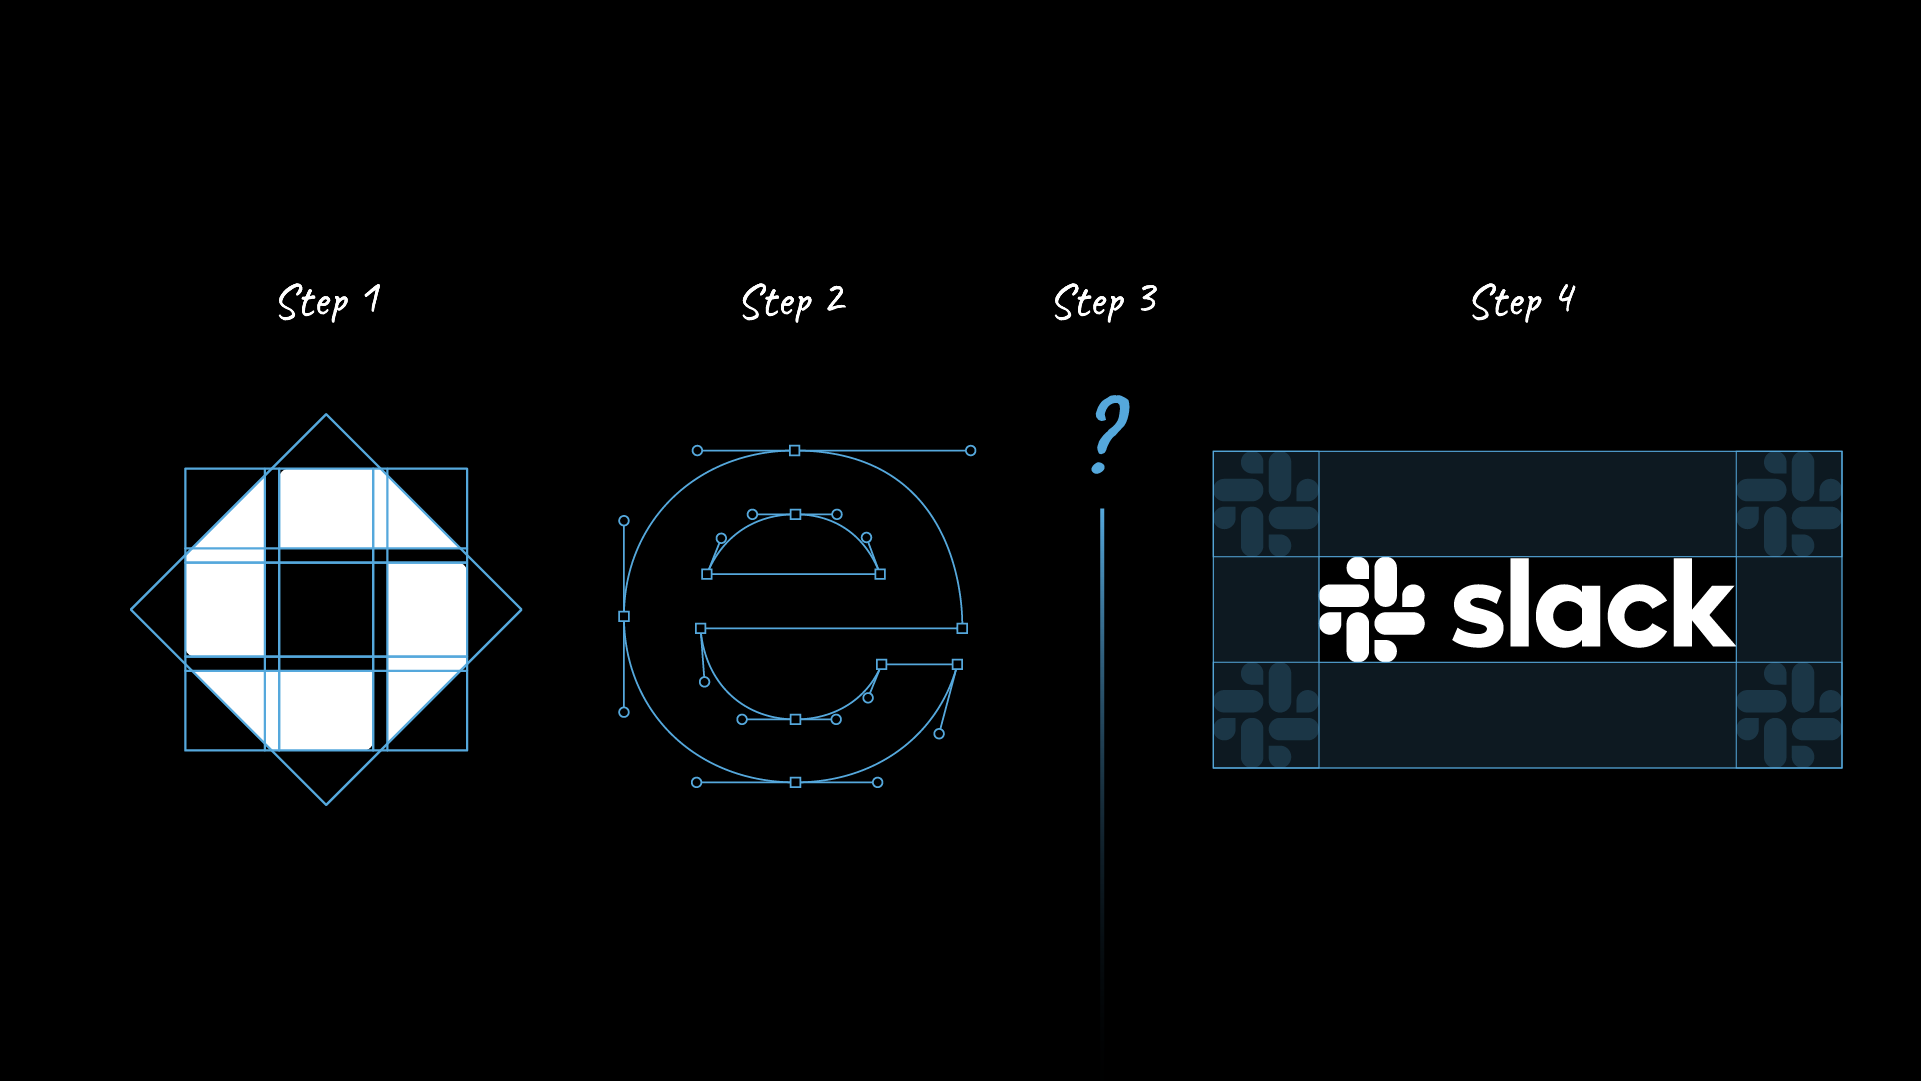
The reality is that a logo grid is not a single tool; it is a system. There are four distinct types of grids, and you need to use specific ones at specific stages of the design process to get a professional result.
In this guide, I will explain exactly how to use each grid type, from the first draft to the final file handoff.
For a deeper definition of the fundamentals, check out my article onwhat is a logo grid?.
Step 1: Use a Base Grid for Structure
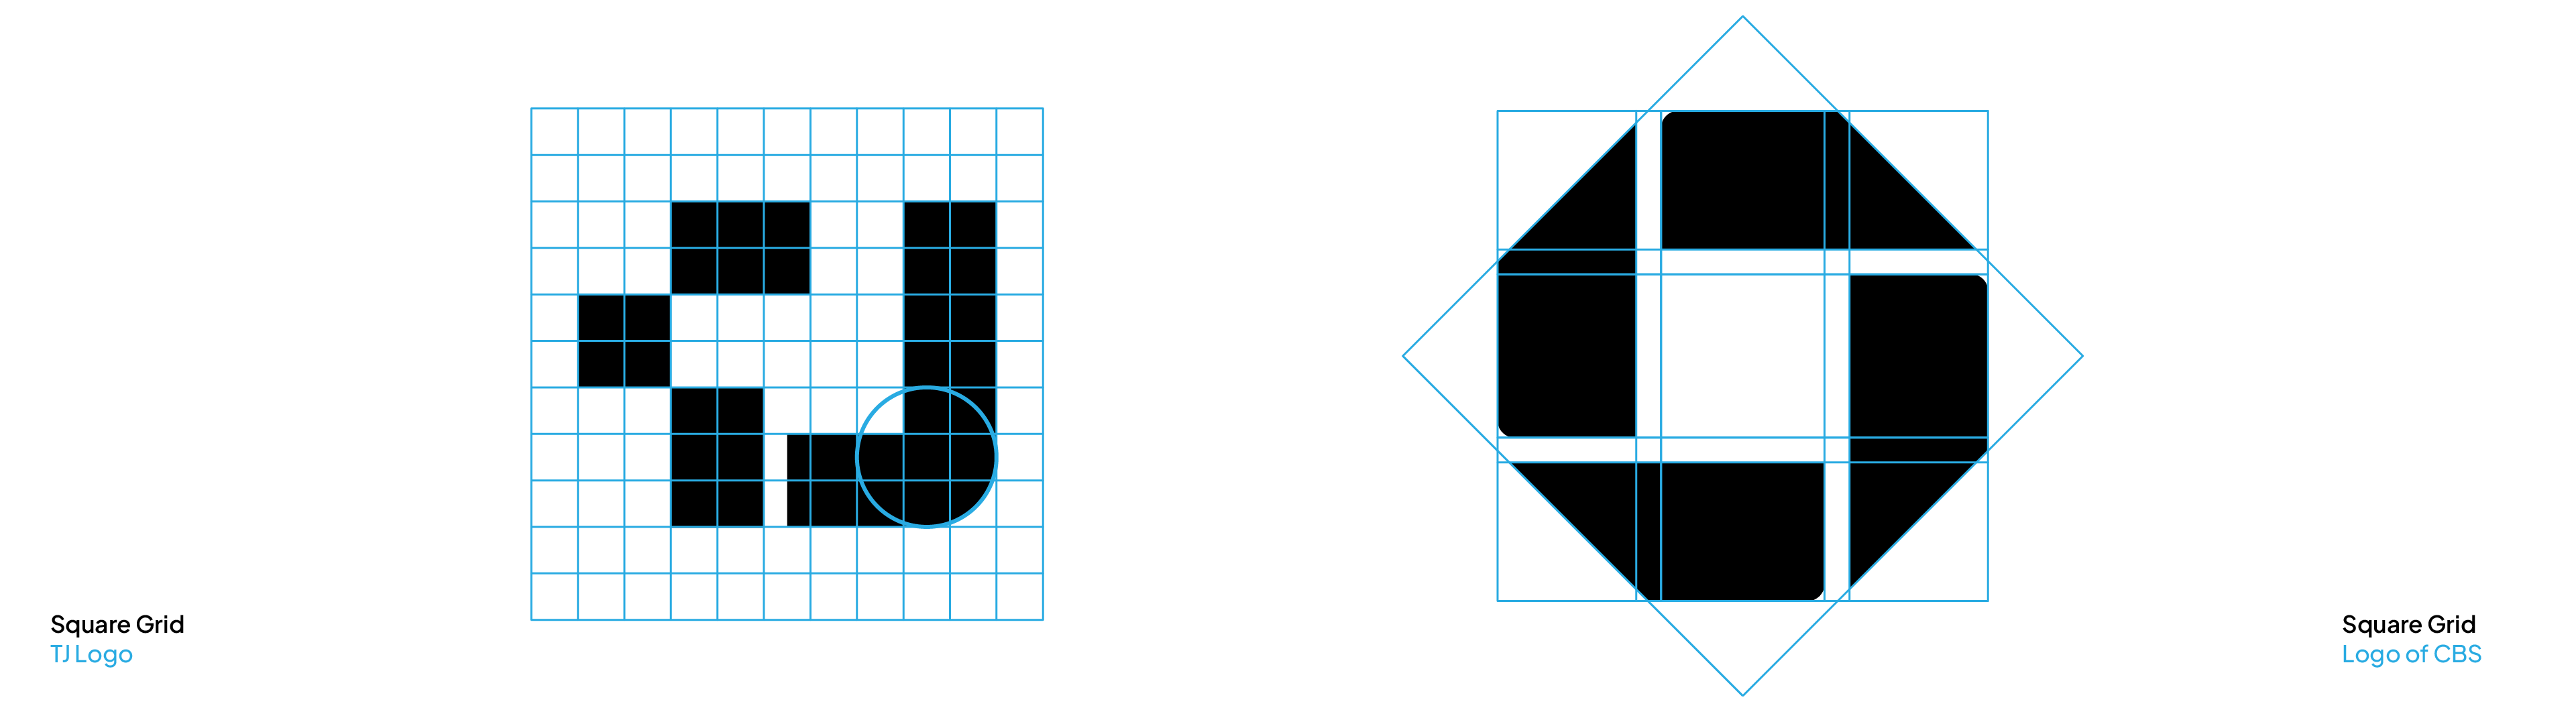
You should use a Base Grid at the very beginning of your workflow, during the drafting phase in Adobe Illustrator. This grid acts as your geometric foundation to ensure consistency before you even draw a shape.
Establishing Structure: Use a base grid to set up the fundamental geometry of your design.
Drafting Concepts: Use this to guide your initial drawings, to ensure proportions are consistent from the start.
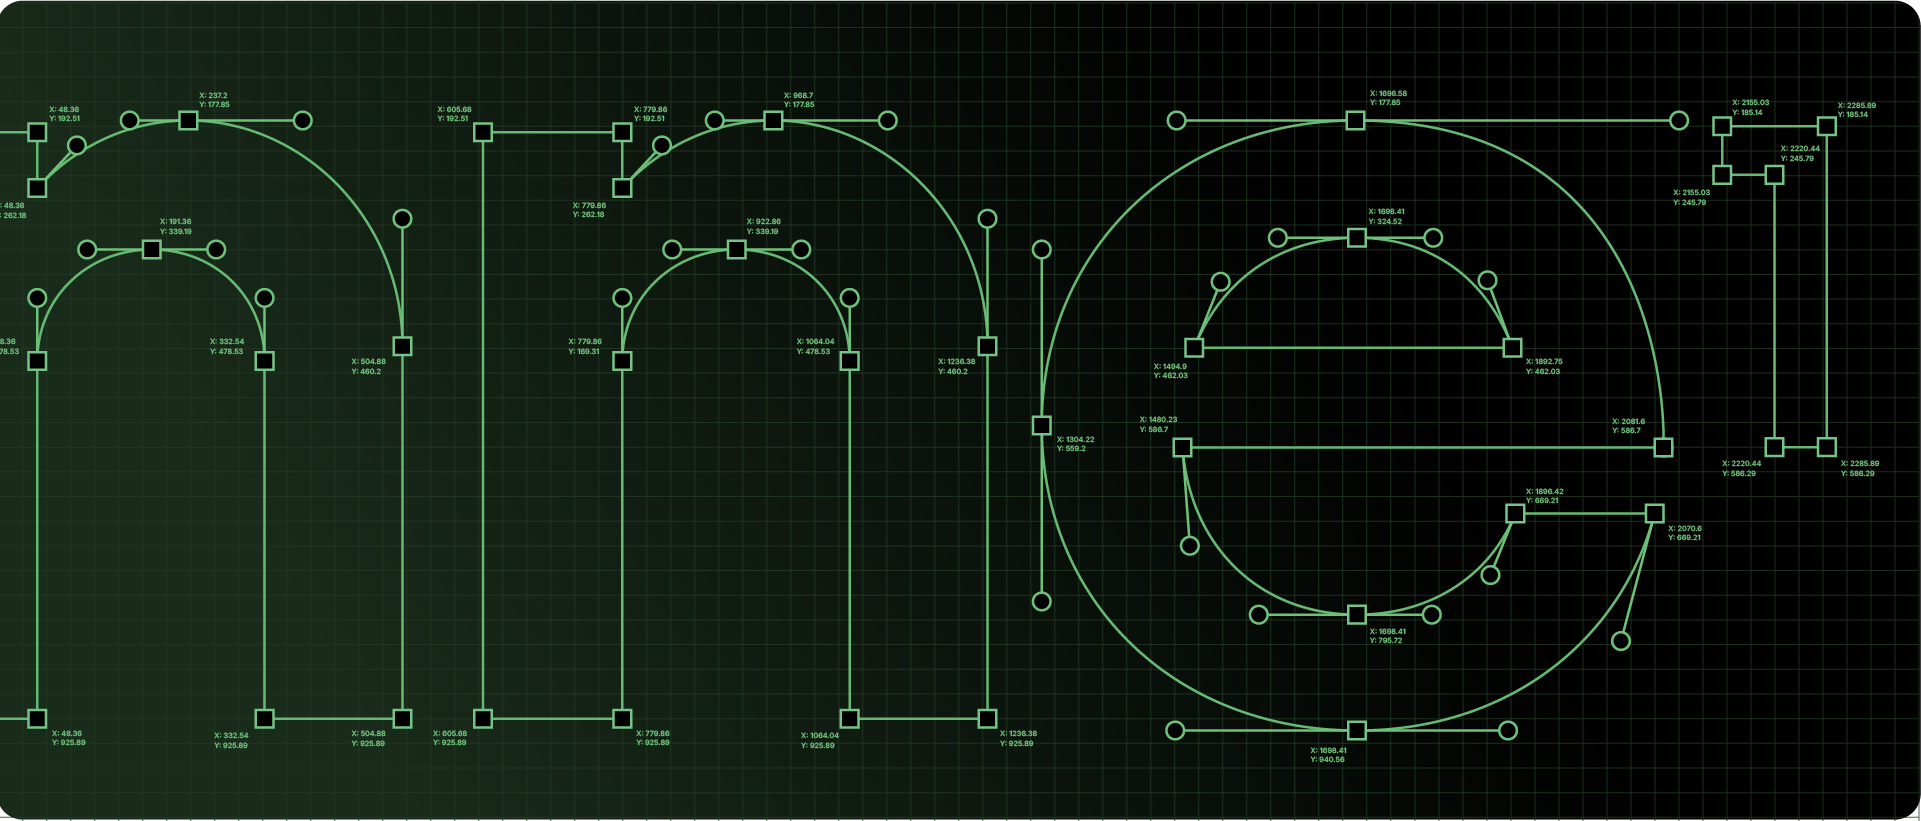
Once you have a solid concept drafted, you move to the refinement stage using a Construction Grid. You don't use this grid system to design; you use it to clean up.
Checking Alignment: Use a construction grid to verify that you don't have excess anchor points or bad crossings.
Geometric Precision: Use this to ensure the overall logic of the logo is mathematically sound, like how angles within the logo should be repeated.
I explain this process in detail in my post on how to finalize a logo with a construction grid.
Step 3: Use a Lockup Grid for Balance
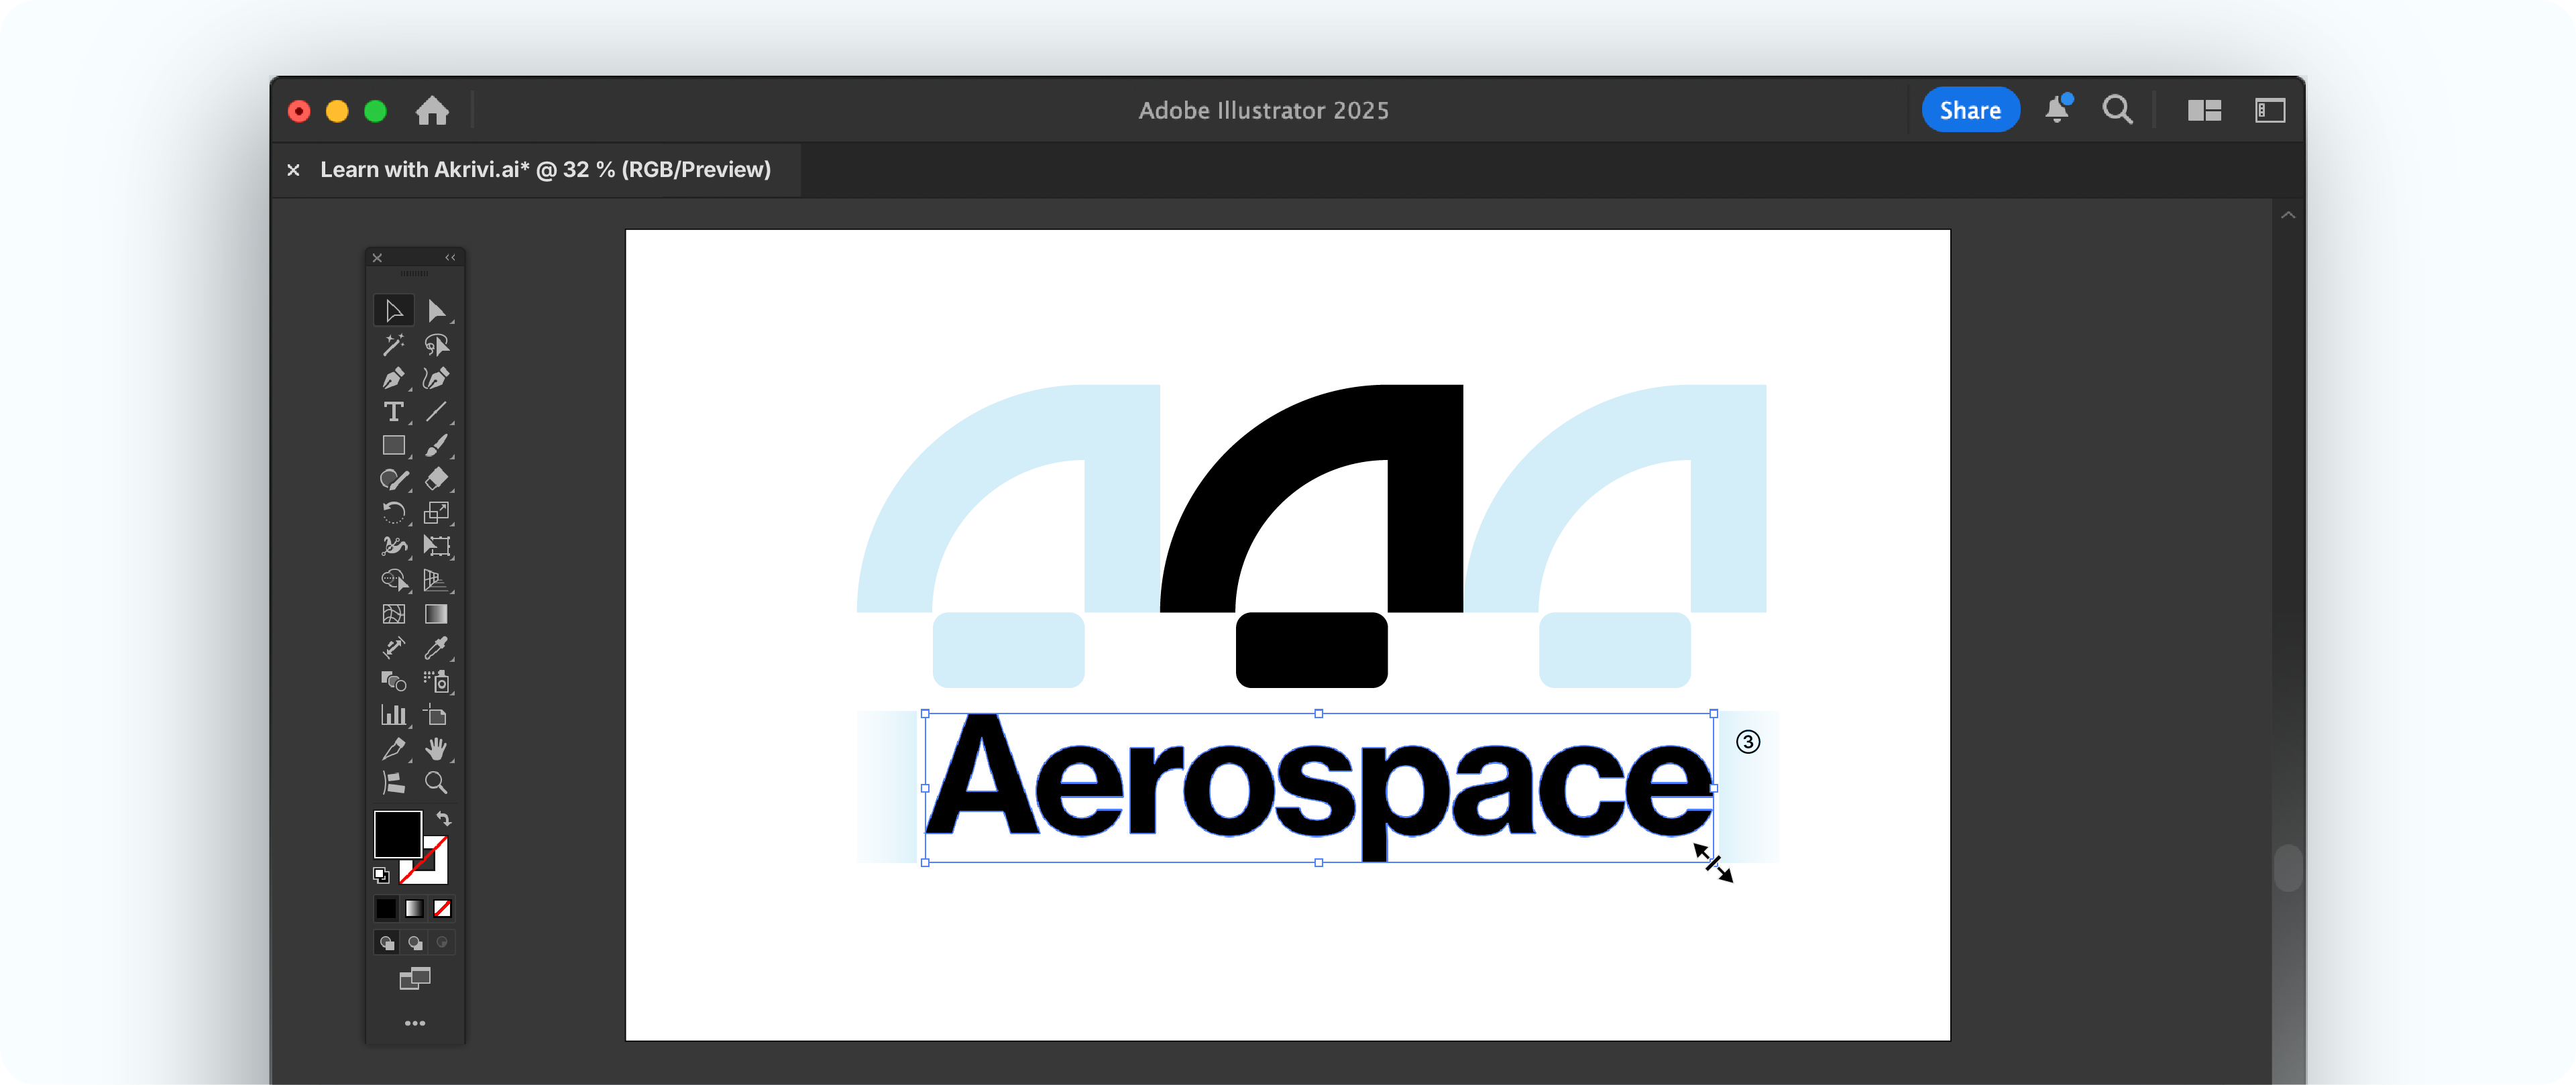
After the logo is refined, you use a Lockup Grid. This is used during the layout phase to combine your elements.
Balancing Relationships: Use a lockup grid to define the spacing between the logomark and logotype, which can be horizontal or vertical.
Step 4: Use a Clearspace Grid for Protection
The final grid is used at the very end of the project to prepare your files for delivery.
Defining Safe Zones: Use this to create a protective boundary that keeps other graphic elements away from the logo.
Helps keep shapes and spacing consistent during logo creation
Construction Grid
Middle / End
Refines vectors, alignment, and spacing for precision before finalizing the logo
Lockup Grid
Middle / End
Balances the relationship between the logomark and logotype in a structured layout
Clearspace Grid
End
Improves legibility and visibility by defining a safe zone around the logo
Start with Free Template
I’ve also created pre-made base grids and lockup grids you can use to start creating flawless logo designs, which can be downloaded here – Logo Grid Templates.
Conclusion
Using a logo grid isn't about restricting your creativity; it's about knowing which grid to apply at which stage. By moving from a Base Grid for drafting to a Construction Grid for refinement, you ensure your final work is precise, professional, and ready for delivery.