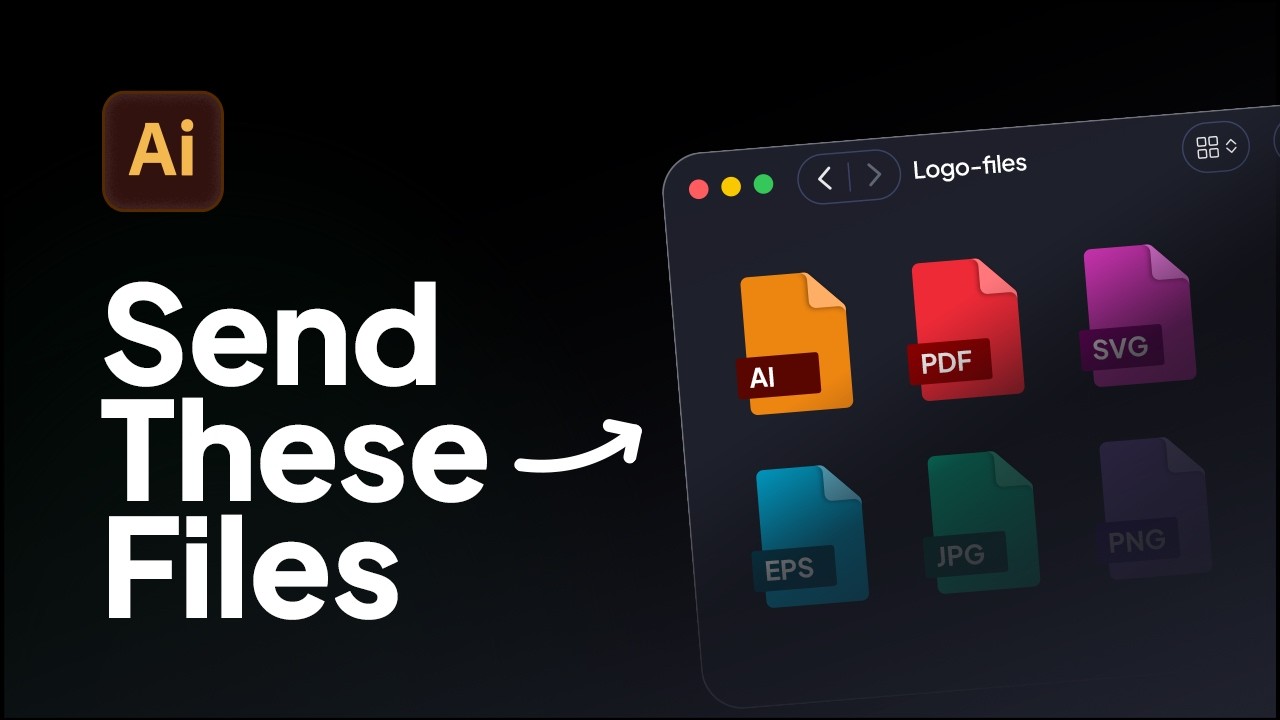
How to Export Logo Files in Adobe Illustrator | Web & Print Formats
Learn how to export logo files for clients in Adobe Illustrator using the correct logo variations, artboard setup, and file formats for professional delivery.
Learn the 4 different types of logo grids you MUST use in your logo design process, and Download your FREE Logo Grid Templates
[00:00:00] I've been designing logos for almost 10
[00:00:02] years. When I started, I wasn't using
[00:00:04] grids. Bad news. Well, in this video,
[00:00:06] you'll learn how to design a
[00:00:08] professional geometric logo using the
[00:00:10] four type of grids. So, before we start
[00:00:12] creating our professional geometric
[00:00:14] logo, we want to create the first type
[00:00:17] of grid, which is a base grid. So, a
[00:00:19] base grid can be a square, isometric,
[00:00:22] hexagon, or even a golden ratio logo
[00:00:24] grid. And this is the type of grid that
[00:00:26] is created before the logo. So, it's
[00:00:28] like the foundational layer. For this
[00:00:30] example, we're going to create a square
[00:00:33] base grid. There's many ways to create a
[00:00:35] square base grid in Adobe Illustrator.
[00:00:37] The easiest way to do it is go to view,
[00:00:41] show grid, and then it does this. But
[00:00:43] for this example, we're not going to do
[00:00:45] that. I'm going to hide the grid. So,
[00:00:49] another way is to click the rectangular
[00:00:51] grid tool. If this rectangular grid tool
[00:00:53] is hidden, you may see the line segment
[00:00:55] tool. You just want to click and hold,
[00:00:56] click on rectangular grid tool. So to
[00:01:00] use a rectangular grid tool, you can
[00:01:02] just click and then it shows you the
[00:01:04] dimensions you want. I'm going to leave
[00:01:05] mine as 88. And then I'm going and make
[00:01:08] sure these numbers are the same as well.
[00:01:10] And then I'm going to click okay. So now
[00:01:12] we have our simple square base grid.
[00:01:17] So I'm going to place this in the
[00:01:19] center. Before you start designing the
[00:01:22] logo on the grid, you have to configure
[00:01:23] a few settings in Adobe Illustrator. So,
[00:01:26] in order for Illustrator to work with
[00:01:29] your mouse in terms of connecting your
[00:01:31] grid and the logo, you want to go to
[00:01:34] view and then you want to turn on smart
[00:01:38] guides. Smart guides is very important,
[00:01:40] showing you what's going to connect to
[00:01:41] your grid. You want to turn that on.
[00:01:44] I'll I'll show you more um about that in
[00:01:46] a few step. And then also you want to
[00:01:47] turn on snap to point which is very
[00:01:49] important cuz without this you can't
[00:01:51] connect to your grid which is going to
[00:01:53] be very weird. So now you have both of
[00:01:55] the grid settings turned on. You also
[00:01:57] have your base grid. So that's the first
[00:01:59] step in creating your first type of logo
[00:02:02] grid which is the base grid. So now you
[00:02:05] have the base grid, you have the right
[00:02:06] grid settings. You now just want to go
[00:02:07] to layers and you probably want to lock
[00:02:10] this layer and then create another layer
[00:02:12] on top. So this just makes sure
[00:02:15] obviously you can't click the layer. So
[00:02:18] we have the base grid layer and we have
[00:02:21] the layer the new layer that we're going
[00:02:23] to create the logo design on.
[00:02:26] Okay. So now we're going to create the
[00:02:28] logo and we can do this through using
[00:02:31] the pen tool or using the rectangle
[00:02:34] shape tool. I'm going to use the
[00:02:35] rectangle shape tool for this example.
[00:02:37] So in order to do this, you can just
[00:02:40] simply let's say I want to click here
[00:02:43] and then you can see the purple line
[00:02:45] snapping and you see where it says
[00:02:46] intersect and you can see the purple
[00:02:49] diagonal line. That just makes it so
[00:02:51] much easier when you're creating a
[00:02:54] logo using um Adobe Illustrator grids.
[00:02:56] So I have my first shape here and then I
[00:02:59] just want to duplicate this
[00:03:02] and I want to just drag that across.
[00:03:06] I'm going to drag it across again. And
[00:03:08] you can see already it's starting to
[00:03:10] create a like instantly you can see the
[00:03:13] professional type of perfect geometric
[00:03:17] logo starting to create. In the past, as
[00:03:20] I mentioned, I didn't use grids and when
[00:03:22] I wasn't using grids, it was just
[00:03:26] bad. like my my work didn't look
[00:03:28] professional until I remember the day
[00:03:30] like it was yesterday when I started
[00:03:32] using grids and everything just just
[00:03:34] changed. My whole um work just changed.
[00:03:38] So you can see now we have this
[00:03:42] Q letter looking logo Q / R. Um and it
[00:03:47] just looks very professional.
[00:03:50] So the next step is I want to merge the
[00:03:54] logo. So, I want to unite the logo. So,
[00:03:56] now I've united the logo.
[00:03:59] We have a logo that's all one shape.
[00:04:04] So, I'm now going to move on to the
[00:04:06] second type of grid that you want to
[00:04:08] create, which is a construction grid.
[00:04:11] Okay. So, I've hidden the previous
[00:04:13] layer, and now it's time to create a
[00:04:14] construction grid. So, a construction
[00:04:16] grid is the type of grid you create
[00:04:18] after you design the logo. And the
[00:04:21] construction grid helps you with logo
[00:04:23] alignment and spotting any mistakes
[00:04:26] within a logo. Think of the construction
[00:04:28] grid as like an X-ray for logo design.
[00:04:31] There's two ways to create a
[00:04:33] construction grid. The first way is to
[00:04:34] do it manually when you select each
[00:04:37] point and then you would have to select
[00:04:40] each vector and then you have to
[00:04:42] recreate it and then drag it over like
[00:04:44] this and then do it like this and then
[00:04:47] again you do this. And it does take a
[00:04:49] while.
[00:04:50] This is a simple logo, so it wouldn't
[00:04:52] take as long. But then when you're
[00:04:54] recreating like anchor points and and
[00:04:56] stuff when you want to include it in
[00:04:57] presentations to show that your logo is
[00:04:59] perfect, then it becomes very long. So I
[00:05:02] can sit here and this will take me like
[00:05:04] 20 to 30 minutes for this logo. But I
[00:05:06] don't want to waste your time. So the
[00:05:08] other way to create construction grids
[00:05:09] is to use logo grid generator. To do
[00:05:11] this, we can go into Windows
[00:05:14] extensions logo grid generator.
[00:05:17] And now we have the tool here. And what
[00:05:20] logo grid generator does is instantly
[00:05:22] create the construction grid. So as soon
[00:05:25] as I do this, then boom. You see it's
[00:05:27] just like everything. You can see the
[00:05:29] anchors, the handles, the outlines, and
[00:05:32] the grid lines. And already why you can
[00:05:34] see this tool is very useful is because
[00:05:38] as I've used the square tool, I've seen
[00:05:40] that I have duplicate anchors that need
[00:05:43] to be removed.
[00:05:45] But you can see the angles are perfect.
[00:05:46] Everything looks symmetrical. So, what I
[00:05:49] can do is go back and use the delete
[00:05:52] anchor point. Delete that. Delete that.
[00:05:55] Delete all of the extra stuff that
[00:05:59] doesn't need to be there.
[00:06:01] And then again, just make sure
[00:06:07] and you can see everything looks
[00:06:09] perfect. Again, because this is a simple
[00:06:11] logo, there isn't much refinement how to
[00:06:13] do it except for remove the duplicate
[00:06:15] anchor points. But you can see already
[00:06:17] using the first type of logo grid and
[00:06:19] then use um which is the base grid and
[00:06:21] then using the construction grid again,
[00:06:23] you are like doubling your accuracy cuz
[00:06:25] if you just use one type of logo grid,
[00:06:27] it's going to be things that you you
[00:06:28] would miss when it comes to like
[00:06:30] alignment, um any errors and other
[00:06:33] issues. So those are the two type of
[00:06:36] grid so far. The next type of grid we
[00:06:38] want to use is a clear space grid. Okay.
[00:06:42] Now, so I've hidden the construction
[00:06:44] grid and now it's just the logo by
[00:06:47] itself, the beautiful professional
[00:06:49] geometric logo. And I'm going to create
[00:06:50] a clear space grid. So I'm just going to
[00:06:52] hide logo generator extension. And what
[00:06:57] I'm going to do is use the rectangle
[00:07:00] tool again.
[00:07:03] Going to create a new layer.
[00:07:07] And with the rectangle tool, I'm just
[00:07:09] going to copy this shape because I know
[00:07:12] it's a perfect square. And I'm going to
[00:07:14] use this as a reference point for clear
[00:07:16] space. So a clear space grid is also
[00:07:19] known as the safe zone around the logo
[00:07:21] is what you shouldn't put within the
[00:07:24] range of the logo. And this just helps
[00:07:26] with um the practicality and just making
[00:07:28] sure that it looks good and it just
[00:07:30] works well. So there's been many times
[00:07:32] I've created a beautiful logo I've sent
[00:07:33] off to the client and they might have
[00:07:35] butchered it by just squashing it in the
[00:07:36] corner of a screen or adding too many
[00:07:38] things close to it. So that's why you
[00:07:40] want to use a clear space grid. So let's
[00:07:41] just change this to like a pink. So we
[00:07:46] have this. And then again I'm going to
[00:07:48] do that again there. And you can see how
[00:07:50] the smart guides are really really
[00:07:54] starting to help. I'm going to place
[00:07:55] that there actually.
[00:07:58] [Music]
[00:08:01] There's many ways to create a clear
[00:08:02] clear space grid. I'm actually working
[00:08:04] on another tool to automate
[00:08:08] clear space which should be out soon.
[00:08:13] So you can see it isn't too long to
[00:08:17] create a clear space grid, but it is a
[00:08:19] bit tedious cuz you have to do all of
[00:08:21] this filling with the grids. So you can
[00:08:24] create a clear space grid in two ways.
[00:08:26] taking one component within the logo and
[00:08:29] then
[00:08:31] duplicating it around the edge.
[00:08:35] I actually want to bring this
[00:08:38] down um because I feel like that's
[00:08:40] within the logo. So, I'm going to bring
[00:08:43] that down there.
[00:08:45] So, now we have the clear space grid.
[00:08:47] And then of course when you're
[00:08:49] presenting it, you can add if you've
[00:08:53] chosen the measurements, you can
[00:08:56] add the the numbers or you can just use
[00:08:59] the X's.
[00:09:02] For this case, I'm going to use the X's
[00:09:03] because it wasn't a specific
[00:09:05] measurement, but it was rather just um a
[00:09:08] shape.
[00:09:09] So this is the third type of grid you
[00:09:11] want to create, which is a clear space
[00:09:13] grid. Now we're going to move on to the
[00:09:14] next type of grid known as a lockup
[00:09:16] grid. So, a logo lockup is where you
[00:09:18] pair your logo mark and your logo type.
[00:09:20] There's many different type of lockups.
[00:09:22] There's a horizontal, vertical. It can
[00:09:24] be quite tricky to pair them, but we can
[00:09:26] create a logo lockup grid to help us
[00:09:28] pair a logo mark with a logo type. So,
[00:09:30] it's now time to create your logo type.
[00:09:31] I'm going to create mine and skip ahead.
[00:09:33] Now, we want to pair these two. So, to
[00:09:36] pair them, this is a horizontal lockup,
[00:09:38] as you can see, cuz it's horizontal. And
[00:09:40] this would be a vertical lockup. But for
[00:09:44] this example, we're going to use a
[00:09:45] horizontal lockup. as we know what our
[00:09:46] clear space is for the logo. It would be
[00:09:49] something like this. Um, so we we could
[00:09:53] do it like this. Just use that there
[00:09:56] just for reference. And bring that
[00:09:59] there.
[00:10:01] So that's one way just using the clear
[00:10:02] space cuz we know that the clear space
[00:10:03] that we've used is just this shape next
[00:10:06] to it. But another way is um a lockup
[00:10:09] grid. To create a lockup grid, you can
[00:10:11] let's create a new layer. So you can
[00:10:15] just take the top
[00:10:19] of the whole logo. So let's change this
[00:10:22] to a nice
[00:10:25] grided blue. And then we go right to the
[00:10:28] bottom.
[00:10:30] And then what we can do is do it like
[00:10:33] this. You can actually kind of choose
[00:10:35] the measurements. Um but I've actually
[00:10:39] seen a way that just works better and
[00:10:41] I'm going to show you this. So you can
[00:10:42] create a lockup grid like this and then
[00:10:44] you can just take this
[00:10:48] and then you can do it like this. This
[00:10:50] does take obviously you can see some
[00:10:52] time it doesn't take too long but a way
[00:10:55] that I
[00:10:57] have seen that just works a lot better
[00:10:59] is to I made a script that you can just
[00:11:01] go to file scripts and then we
[00:11:04] horizontal lockup grid and then you can
[00:11:06] see you have the lockup grid here. So,
[00:11:09] um, boom. You can see it's connected.
[00:11:12] So, I've included some algorithms that
[00:11:14] just work well when it comes to like the
[00:11:16] measurements. Um, so you can see it's
[00:11:18] not using the clear space, but it still
[00:11:20] it still works. And then again, you can
[00:11:22] tweak how you want it. So, say if you
[00:11:25] wanted a line,
[00:11:29] if you wanted another measurement
[00:11:31] inside,
[00:11:34] um, you can do it like this.
[00:11:39] And let's do like that.
[00:11:43] Then you can see we have our
[00:11:50] logo. So you can see the final type of
[00:11:53] grid lockup grid has allowed us to
[00:11:56] create an aesthetically pleasing
[00:11:58] professional logo that just works. So
[00:12:00] we've just used all four grids
[00:12:02] throughout our logo design process.
[00:12:04] Starting with the base grid, which
[00:12:05] allowed us to create a balanced
[00:12:06] geometric logo from the ground up before
[00:12:09] using a construction grid to reveal the
[00:12:11] logo structure and then perfect it.
[00:12:13] Followed by a clear space grid to give
[00:12:14] the logo some room for functionality and
[00:12:17] then finishing with a lockup grid to
[00:12:18] pair the logo mark with the logo type.
[00:12:21] You can grab the logo grids kit
[00:12:22] completely free. It includes a
[00:12:23] readytouse logo grid templates and my
[00:12:25] mastering logo grids in Adobe
[00:12:27] Illustrator ebook. Just check the link
[00:12:28] in the description to download it. Thank
[00:12:30] you for watching. Please like, share,
[00:12:31] and if you want to see more videos like
[00:12:33] this, hit the subscribe button below.

Learn how to export logo files for clients in Adobe Illustrator using the correct logo variations, artboard setup, and file formats for professional delivery.
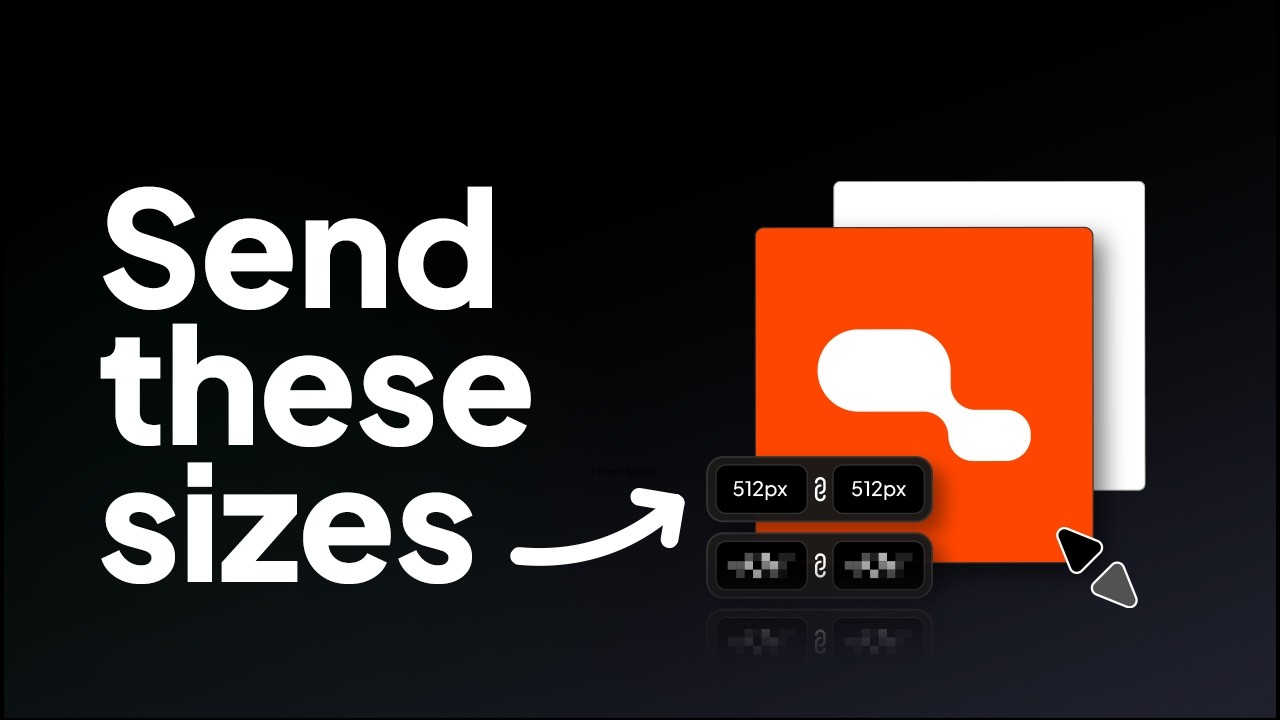
Learn the correct logo sizes to include in a logo package for professional client delivery.
Try all five tools free for 7 days, inside Adobe Illustrator.
7-day free trial · cancel anytime